How to Run Android Apps on Windows with BlueStacks

If you want to run Android games and apps from the Google Play Store on your Windows PC, you can do that with BlueStacks 5.
Microsoft introduced Windows Subsystem for Android (WSA), which allows you to run Android apps natively on Windows 11. However, like many other questionable features, the company didn’t make it easy and is ending WSA support on March 5th, 2025.
Luckily, you still have options for running Android apps on Windows 10 and 11. The most straightforward way to do it is to use the third-party app called BlueStacks. Unfortunately, Microsoft didn’t do a good job running Android apps on Windows 11.
For example, once you set up the WSA, you can only install Android apps from the Amazon Store, which has a limited number of apps and games. Luckily, using BlueStacks to run Android apps is quick and easy. Yes, BlueStacks supports Android apps from the Google Play Store so you can run them on your Windows PC.
BlueStacks Hardware Requirements
Before installing BlueStacks to run Android apps on Windows 11, you need to know the system requirements. But if you have a modern PC, it likely meets the requirements.
- Windows 7 or Higher.
- Intel or AMD Processor.
- 4GB of RAM, but 8GB is Recommended.
- 5GB of Drive Space with an SSD Recommended.
- You can find your Windows 11 PC hardware and system specs if you are unsure about hardware. If you aren’t on Windows 11 yet, take a look at finding your Windows 10 PC hardware and specs.
Using BlueStacks on Windows to Run Android Apps
Using the following steps, you will have Android apps running on Windows 11 in no time.
- Head to the BlueStacks web page and download version 5. You can get BlueStacks X, but in my testing, version 5 works the best.

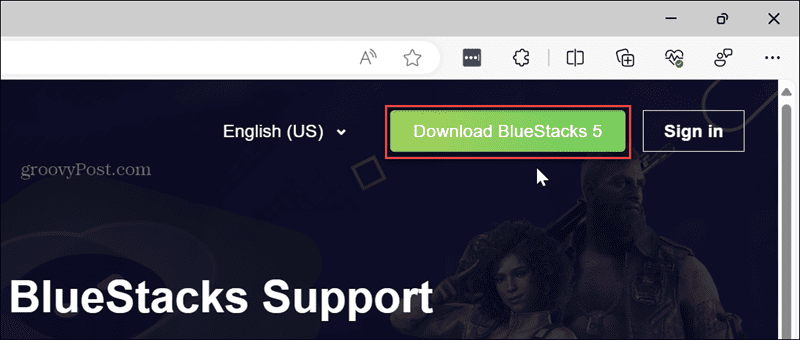
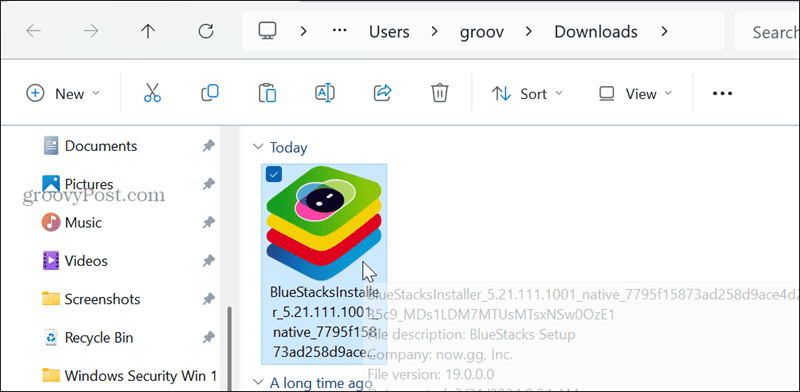
- Double-click the installer file.

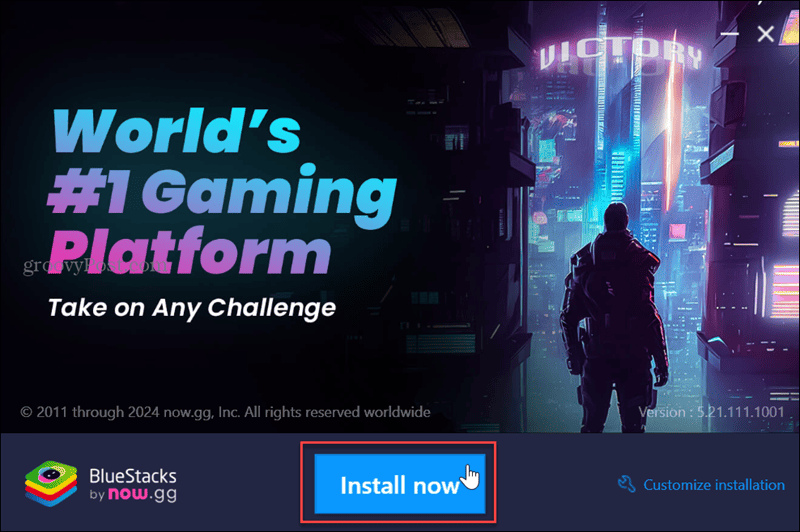
- Click the Install Now button.

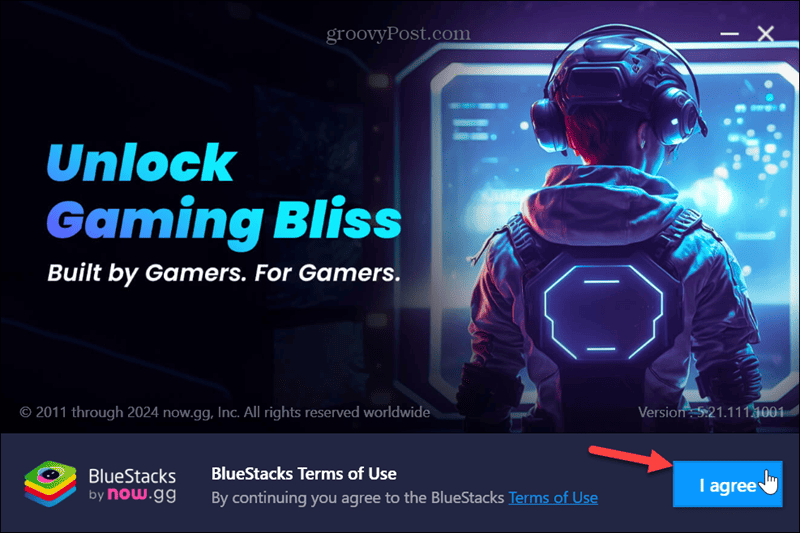
- Click the I Agree button to accept the EULA.

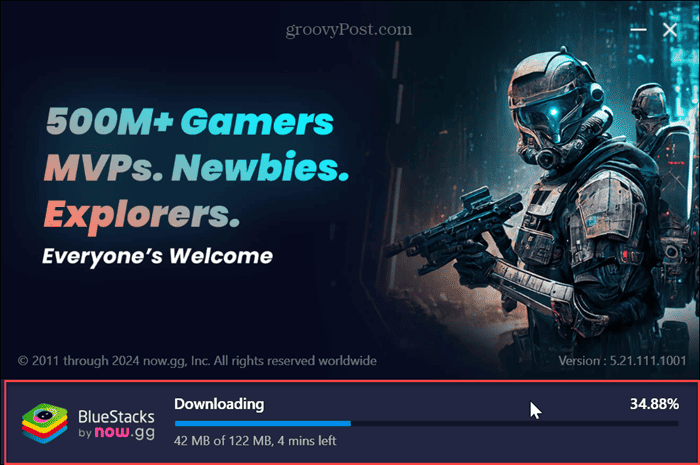
- Wait while BlueStacks is installed on your system. You will see a progress bar while it downloads the required components. Note that the time it takes will vary depending on your system’s hardware.

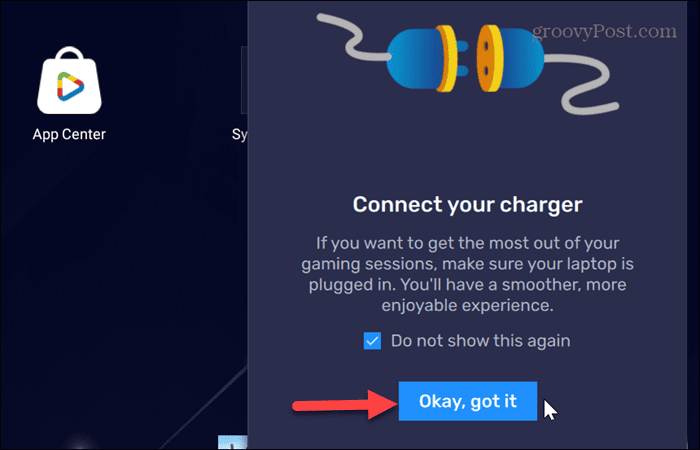
- Once BlueStacks starts, you will receive a notification about plugging the power cord into your laptop for the best Android gaming results.

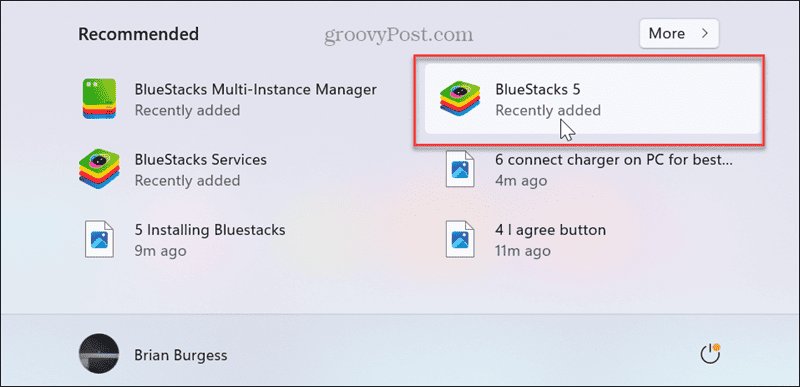
- If you close out of BlueStacks, you can launch it from the start menu. It will appear in the Recommended Items section of the Start menu.

Running Android Apps on Windows 11
Once installing BlueStacks on your Windows system, you can start using it to discover and run Android apps.
- Launch BlueStacks and click the System apps icon.

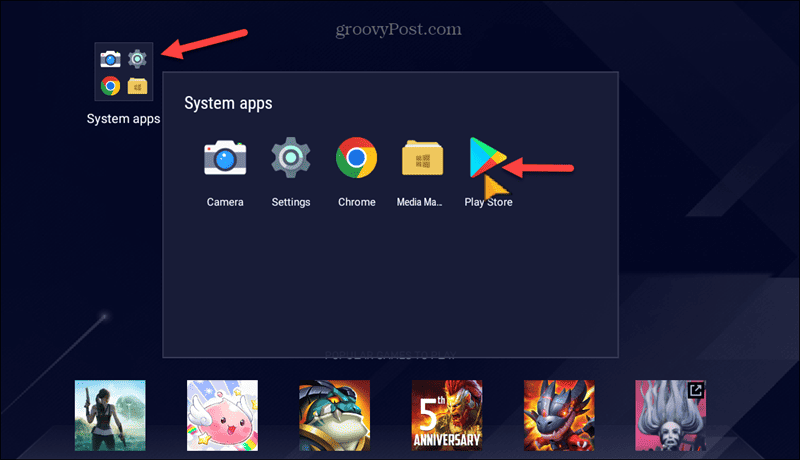
- To get started, you will need to sign in with your Google account and agree to the terms.

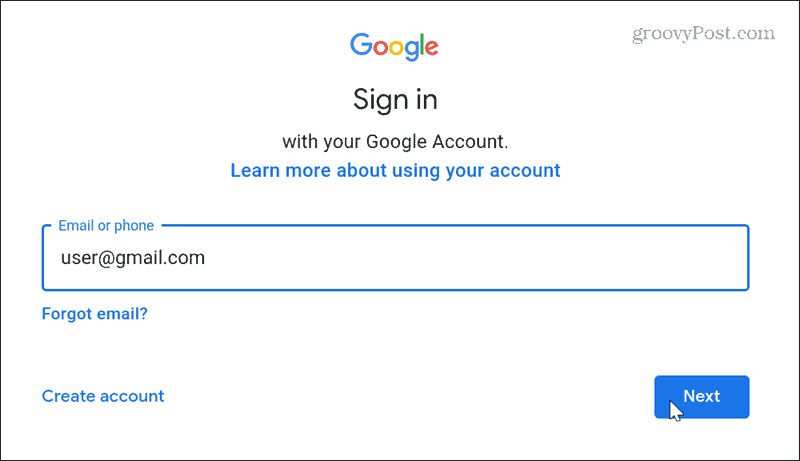
- Once you are signed in with your Google account, you can start looking through the Play Store to find and install the apps you want to use.

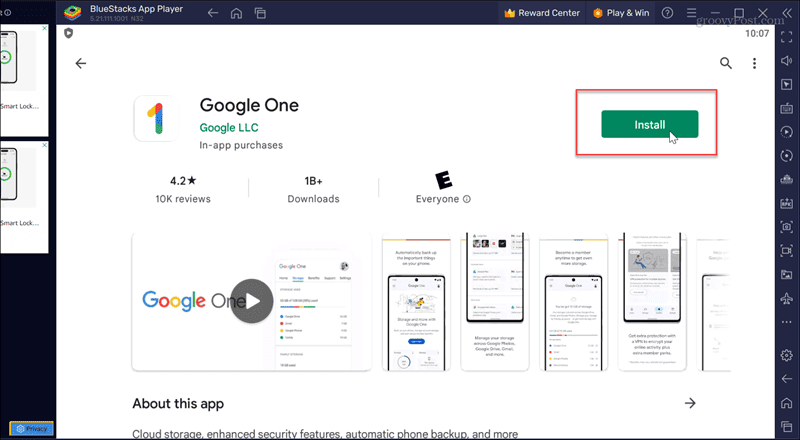
- Select the app you want to run and click the Install button. Once it’s in BlueStacks, you can start running it like any Android app on your phone or tablet.
That’s all there is to it. Go ahead and start installing the Android apps you need and run them on Windows via BlueStacks.
However, there are a few things to point out. First, it runs very similar to the Play Store experience on your Android phone. Also, this is a freeware application, so you will need to deal with seeing ads in the left column.

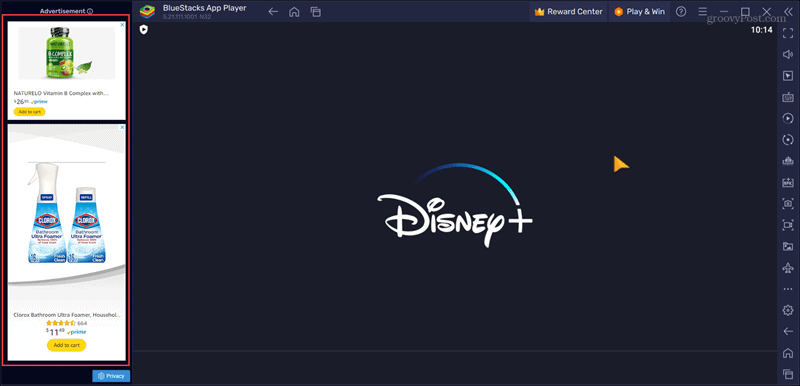
Using BlueStacks to Run Android Apps on Windows
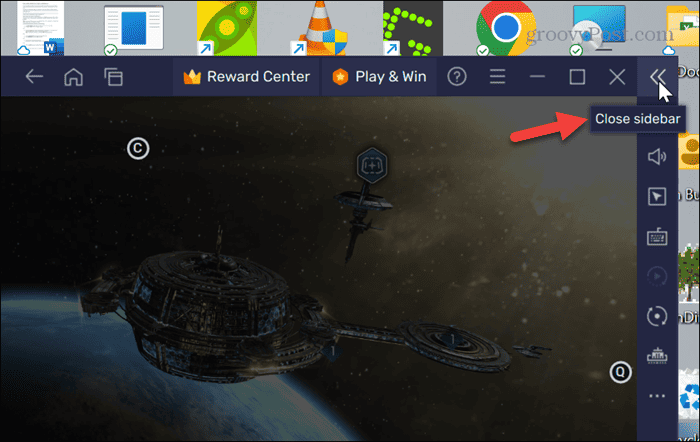
In addition, the virtualization layer can make the app experience a bit sluggish. For example, I played Star Trek Fleet Commander, and the experience was choppy on my laptop until I plugged it in. Still, it’s a great free way to install and run Android apps on your PC.
BlueStacks has different controls, so you can tweak settings and select the Home button to return to your previous state.

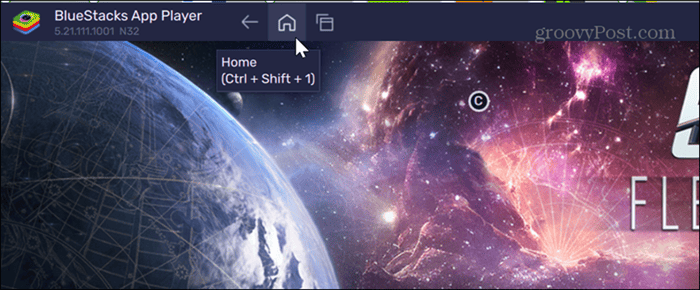
BlueStacks has a control bar on the right with different settings and controls to make your computer’s Android app screen fit differently. You can hide it by clicking the top arrow icon on the top right.

If you want a quick, easy, and reliable way to run Android apps on your Windows PC, you can’t go wrong with BlueStacks. It’s also worth noting that Microsoft does have a Google Play Games feature, but currently, it’s in beta.
1 Comment
Leave a Reply
Leave a Reply




Ali
April 8, 2024 at 1:46 am
Very interesting article, I tried on my Windows 10, its like amobile phone inside Desktop PC, I still need how to connect this phone to outside WiFi or internet, it also help in downloading and installing APK files.