How to Enable Night Shift on macOS and Linux

Blue light support has become a popular trend across desktop and mobile this past year. Let’s review how to enable it for macOS and Linux.
Night Shift or Night Mode support has become a popular trend across desktop and mobile operating systems over the past year. Brands such as iOS, macOS, and Windows 10 (Nightlight), all come built-in with their own versions of the feature. Blue light limits the production of melatonin, which is important for managing sleep behavior and is also relevant to various health conditions such as heart function.
In the past, we’ve reviewed setting up and configuring Night Shift on iOS and Night Light on Windows 10, and today we’re going to review how to enable blue light for macOS and Linux.
How to Enable Night Shift on macOS
In order to run Night Shift, your Mac needs to be running at least macOS 10.12.4 as well as supported hardware. Here’s the list of supported Macs:
- MacBook Air (Mid 2012 or later)
- MacBook (Early 2015 or later)
- MacBook Pro (Mid 2012 or later)
- Mac mini (Late 2012 or later)
- iMac (Late 2012 or later)
- Mac Pro (Late 2013)
If you have both 10.12.4 and the supported hardware, follow the steps below to enable Night Shift on macOS.
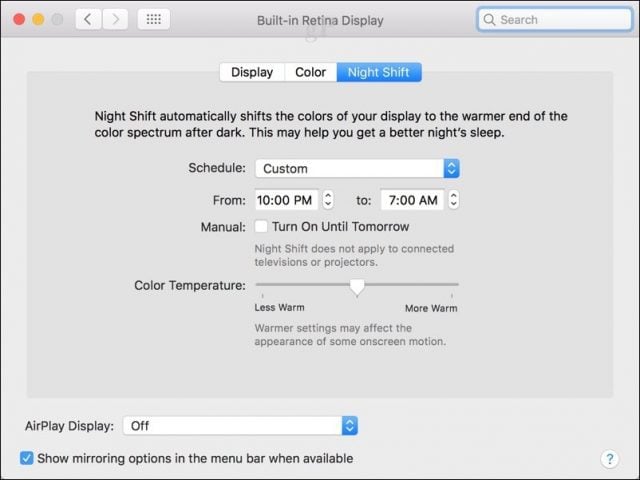
- Launch System Properties and click Display
- Click the Night Shift Tab
- Click the drop-down box under Schedule and select Sunset to Sunrise.
- Optional — select Custom to choose your own schedule to enable/disable Night Shift mode.

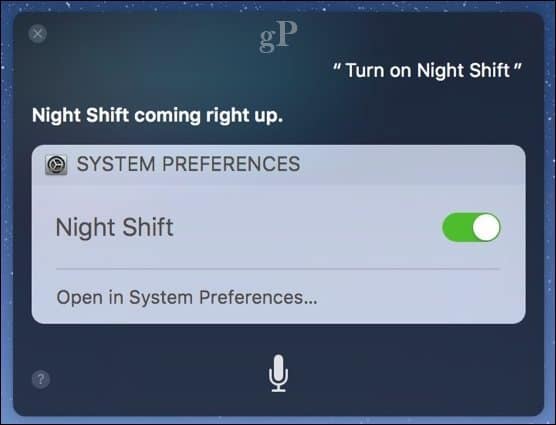
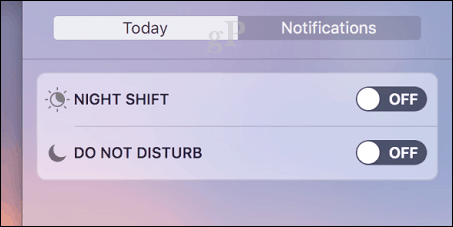
Users can also enable or disable Night Shift on the fly from the Notification Center or use Siri commands Turn on Night Shift or Turn off Night Shift.


Blue Light Support on Linux
Setting up blue light on Linux is a little more involved, but nothing to scare you away. As with pretty much everything in Linux, it’s a community effort. First, you will need to download a third-party package, maintained by developer Nathan Renniewaldock. Make sure you download the right package for your distribution of Linux. In my case, I am running Ubuntu 16.04, also known by its code name Xenial.

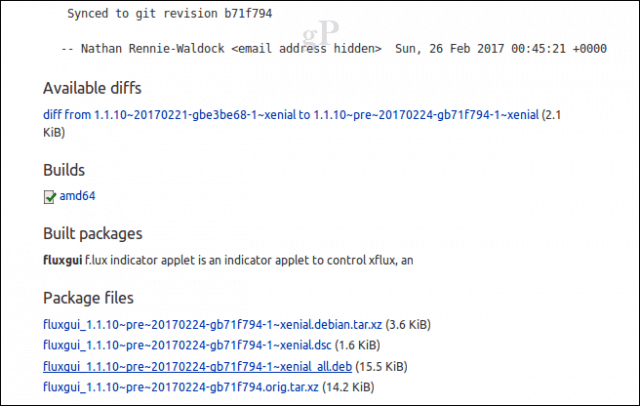
After downloading the package, double-click it; this will then launch the Ubuntu software center, where you can begin the installation.


Open the F.lux Indicator Applet, which will prompt you to enter your latitude. Yeah, I know, not exactly the most friendly UI in the world. The app does provide a link to finding your Latitude and Longitude, however, I just used Google to quickly find where I was located. For those in the US, F.lux also provides the option for simply entering a zip code.

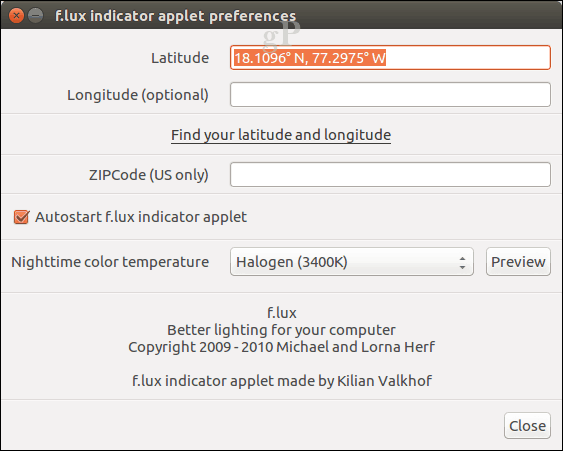
The app also provides several Nighttime color temperatures to choose from. I found Halogen (3400K) to be most comfortable, but you can play with several others to see if they suit you more. The F.lux Indicator Applet adds a menu bar item where you can quickly access settings for the app and even pause it.
Users running Android can download a third-party app for their device. Learn more about setting it up here. If you want to learn more about f.lux in general, check out our previous coverage here.
Leave a Reply
Leave a Reply


