How to Update Your iPhone or iPad
It’s important to keep your tech devices up to date and if you have an Apple device, we’ll show you how to update your iPhone or iPad.
Keeping your tech devices up to date is essential for new feature sets, security updates, and bug fixes. If you are an Apple user, you need to know how to update your iPhone or iPad to get the latest version of iOS. This is especially true if you’re new to Apple devices. Updates are free from the company; you just need to download and install them on your device. Once you get the updates, your data and settings remain unchanged.
In this guide, we’ll show you the backup steps to use first. After a data backup, we’ll explain the process for getting the latest updates on your iPhone or iPad.
Back Up Your iPhone or iPad First
Experiencing problems while updating your iPhone or iPad is rare. But it is possible something could go awry.
Assuming you have a modern device, you are likely using iCloud to back up your phone. It’s worth noting that you can still back up your iPhone to a computer if you still have a version of iTunes on your computer. But iCloud is solid and provides a seamless backup experience. Once you have a backup, you can restore your iPhone from a backup archive if something goes wrong with the update.
How To Back Up to iCloud on iPhone or iPad
Backing up your iPhone to iCloud is straightforward from the Settings app, using the following steps.
- Tap Settings on your iPhone or iPad.

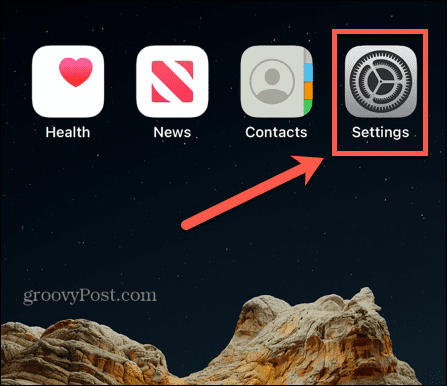
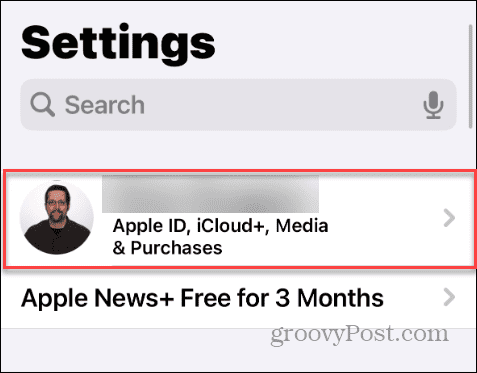
- Select your Name from the top of the screen.

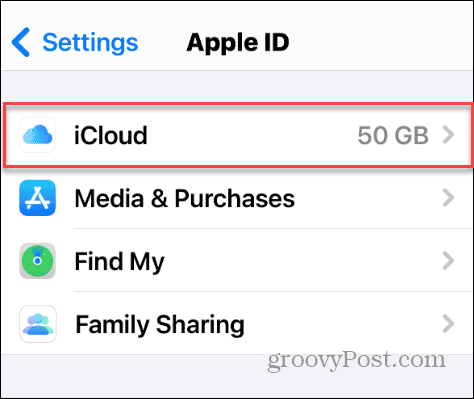
- Swipe down the menu and select iCloud on the screen.

- Swipe down the screen and select iCloud Backup under the Device Backups section.

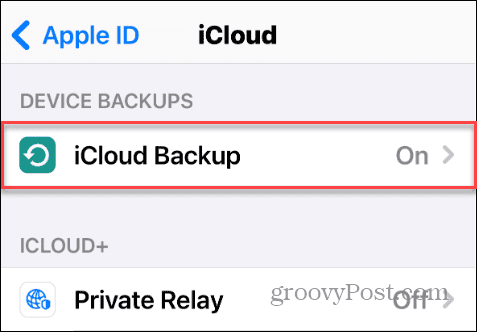
- The screen will display your current backups for your Apple devices — tap the Back Up Now option.

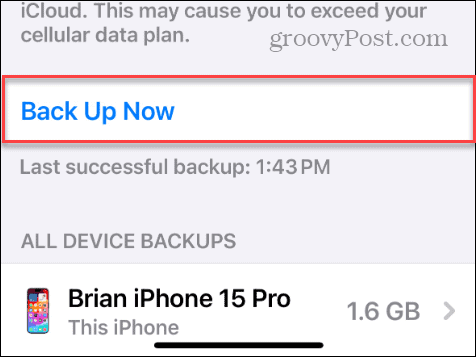
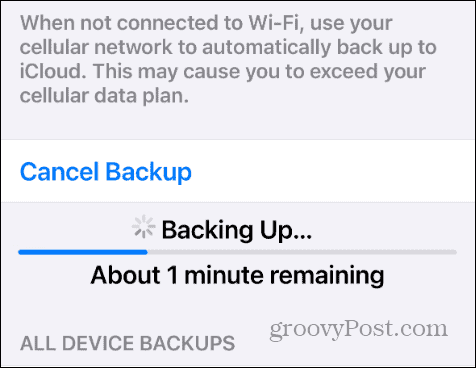
- You will see a progress bar while the backup process is completed. The amount of time will vary depending on the amount of data you have on your phone or tablet.

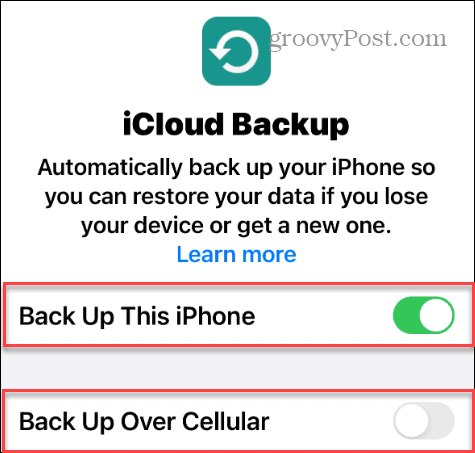
It’s also important to note that on this screen, you can enable automatic backups, which is recommended, and choose if you want it to back up over cellular or not. If you have a limited data plan, you’ll probably want to keep the latter option turned off.

Update Your iPhone or iPad
Once your phone is backed up, updating your iPhone from Settings is straightforward. Just use the following steps.
- Open Settings on your iPhone or iPad.

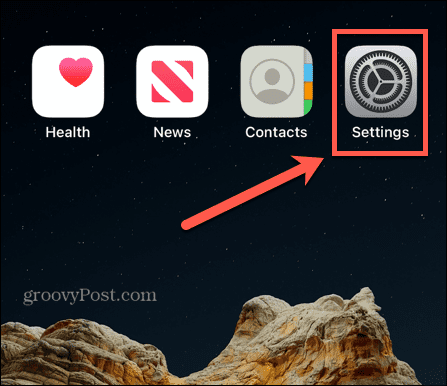
- Swipe down the screen and select General from the menu.

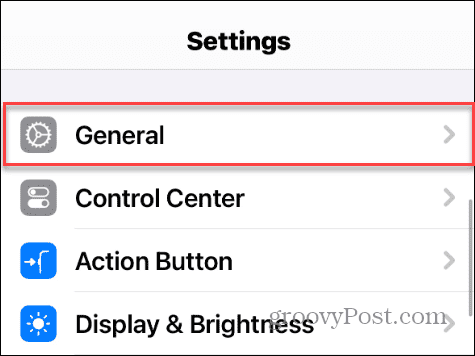
- Next, select Software Update from the menu.

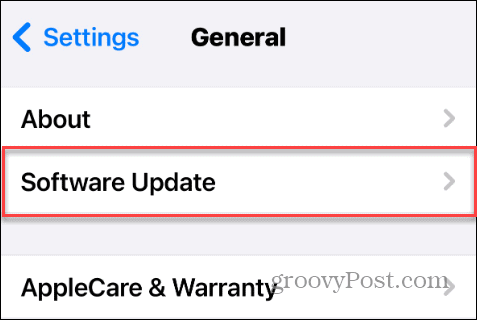
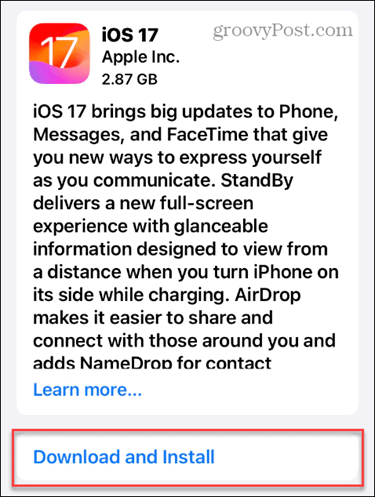
- You will see information about the latest update, including the version number if an update is available. Tap the Download and Install button near the bottom of the screen and wait while the update is installed. Note that once the update begins installing, you can’t use your device.

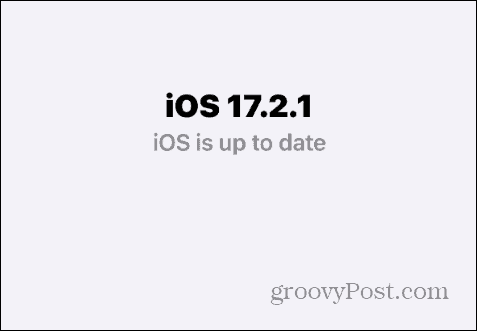
- If no updates are available, the screen will display a message letting you know it’s up to date and the version of iOS installed.

- This screen has two other options. You can enable Automatic Updates, or if you’re a power user, you can turn on Beta Updates for iOS.

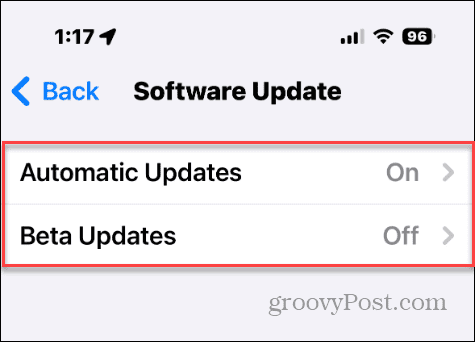
However, it’s important to note that beta updates are usually for users with multiple phones or IT professionals who need to test features. Also, beta updates can be very buggy, so most users should wait for the stable releases only.
Updating Your iPhone or iPad
Again, ensuring you have the latest updates for your iPhone or iPad is essential. Updating your device gives you the latest security safeguards, features, and bug fixes.
If you have your iPhone or iPad set to update automatically, there’s not much you have to do. Your device will install the updates during its downtime.
But if you want more control over updates, you can set it not automatically to update. For example, you might want to skip an update because it breaks something on your device. Then you can wait for the next one. You can do that by turning off automatic updates and manually updating your phone using the steps above.
Leave a Reply
Leave a Reply


