How to Format Your Email Signature on Your iPhone

If you want to “jazzify” your email signature on an iPhone or iPad, we’ll show you how to format your email signature on your iPhone. Here’s how.
Are you tired of sending mail from your iPhone or iPad with the default “Sent from my iPhone” signature? Luckily, you can change the mail signature to something more helpful. In addition, you can also format your email signature on your iPhone.
If you have multiple email accounts, it’s also possible to create separate mail signatures on your iPhone or iPad. But whether you have one or multiple accounts, you might want to look at formatting your email signature to add some style so recipients are more likely to pay attention to it.
Unfortunately, if you don’t have a Mac and use the Universal Clipboard, the formatting options on your iPhone alone are limited. However, there are some things you can do to make the signature stand out more than it does.
So, in this guide, we’ll explain the steps you can take to format your email signature directly from your iPhone in the Mail app via settings.
Format Your Email Signature on Your iPhone
Doing some basic formatting work on your email signature on your iPhone is straightforward, but options are limited.
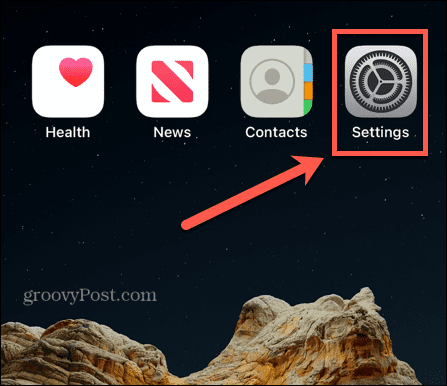
- Open Settings on your iPhone or iPad.

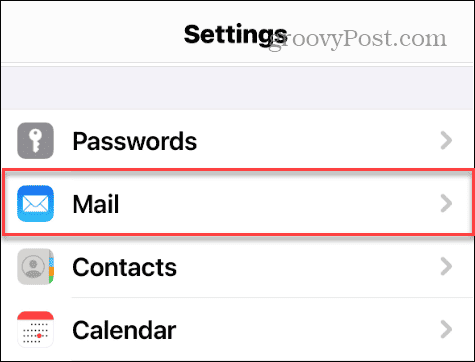
- Scroll down the screen and select Mail from the menu.

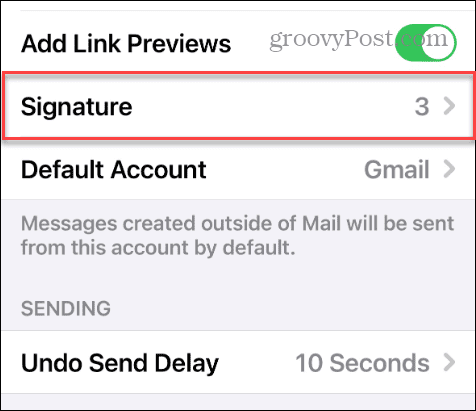
- Swipe down the menu and select Signature from the list of items.

- Select the All Accounts option or Per Account to change each email signature individually.
- Tap the Signature text field and type in the information you want to include. Once you have your information, double-tap the section of text you want to format and select the Format option from the menu that appears. You may need to press the right arrow to find it.

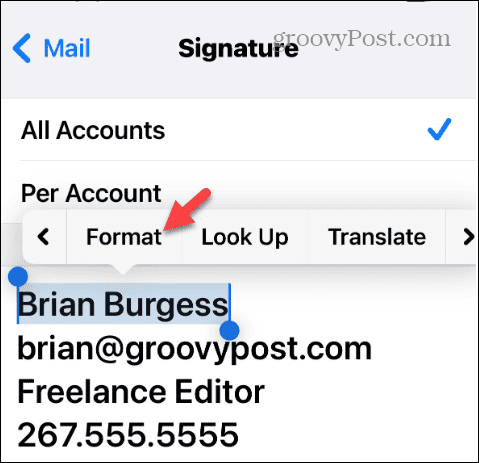
- The options you have for formatting your signature will appear. The possibilities include Bold, Italic, and Underline. Tap the option you prefer to have your text look.

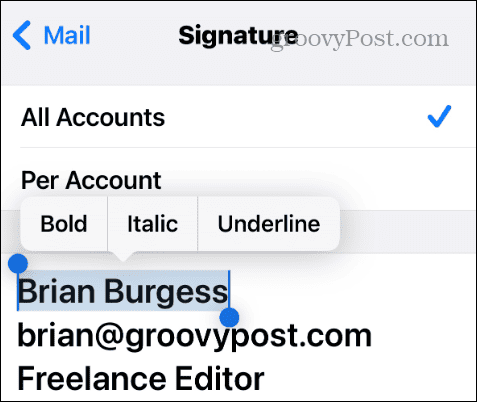
If this is all you need, you are done. If you want to change formatting in the future, head to the same section and adjust what you need.
So, this solution gives you limited formatting options and doesn’t let you resize text, add links, add images (if you want them), or use other formatting options. You can learn how to get more formatting options in the next section.
Use Pages or Rich Text Editor App to Create Email Signature
If you want additional formatting options, including the ability to add links and even images, you can use a word processing app like Pages to create it.
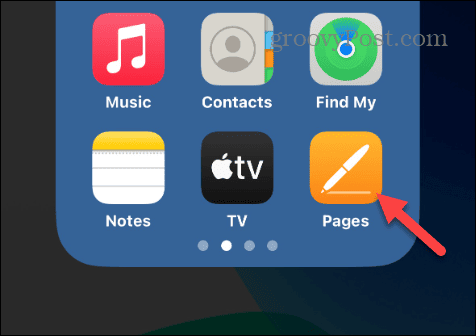
- Launch the Pages app on your iPhone or iPad.

- Type in the text you want to use for your email signature.
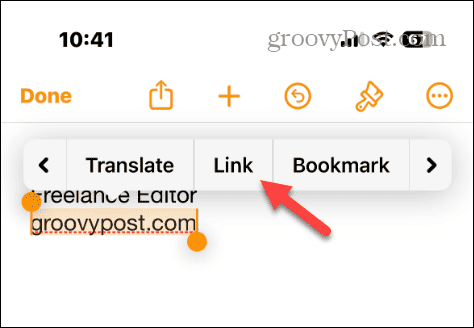
- If you want to enter a link, highlight the text you want, and select Link from the menu that appears — you may need to press the right arrow a couple of times.

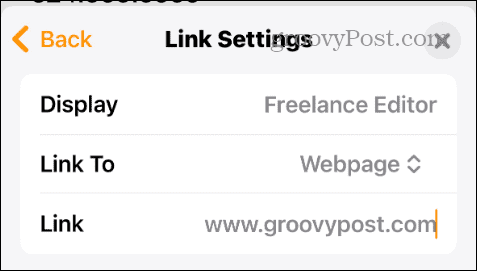
- Choose the text to display and item to link to, i.e., webpage or email address, and enter the URL — tap Done.

- Add an image if you like, and once you finish, select the complete signature you created in Pages and select Copy.

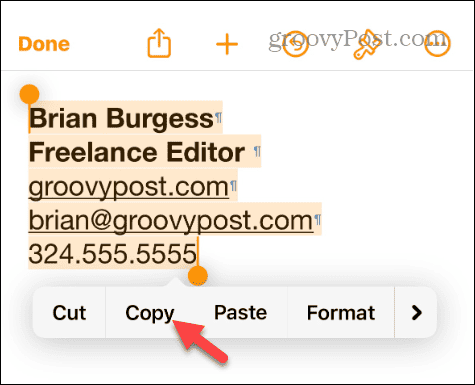
- Go to Settings > Mail > Signature and select All Accounts or Per Account to enter something different for individual emails. Long-press the Signature field and select the Paste button from the menu that appears.

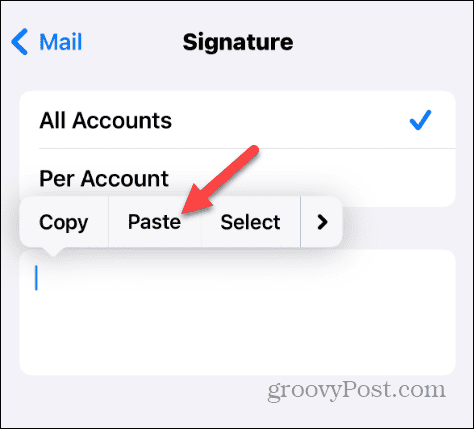
- The signature you created will be added to the field. Once you’re done, tap Mail in the top left corner and close out of settings.

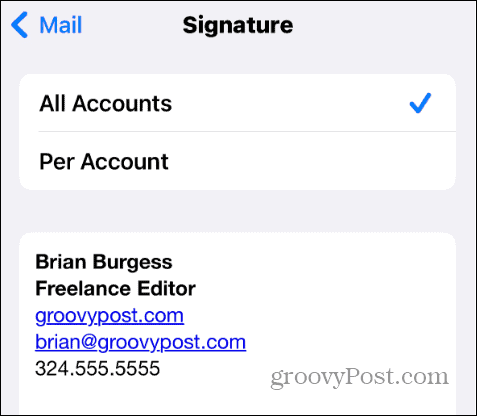
That’s all there is to it. Once you complete the steps, your new signature will be saved with the additional formatting options you added.
Formatting Email Signatures on iPhone
If you want to create an email signature with more formatting options, you can do this directly from your iPhone or iPad. The basic formatting options only allow bold, italic, and underline capabilities. But when you use rich text editor apps like Pages, you can input links and add images. Then, you can copy and paste the signature in with a few taps on the screen.
If you have access to a macOS computer, a few more opportunities open up, like using the Universal Clipboard to copy a formatted signature from your Mac. However, it’s important to note that the Universal Clipboard requires you to enable Bluetooth, Wi-Fi, and Handoff first.
Leave a Reply
Leave a Reply


