How To Install Windows 10 in VMware Workstation

Microsoft’s new OS is constantly gaining more and more attention all over the media. But should you upgrade? Try it out in VMWare Workstation first.
Microsoft’s new OS is constantly gaining more and more attention all over the media. But should you upgrade? Sometimes it’s best to find out for yourself. If you don’t have a spare PC to try Windows 10 on, here’s how you can give it a spin in VMware.
You will need:
- Installed and fully working VMware Workstation 11 (which provides a free 30-day trial)
- Installation media for Windows 10 (ISO or DVD)
Step 1: Set up a VMware Virtual Machine
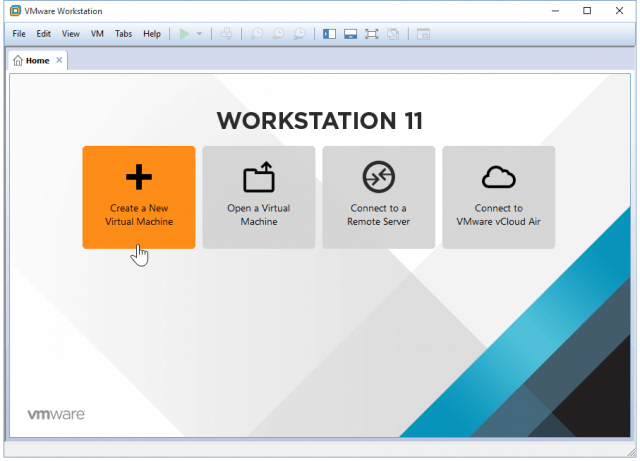
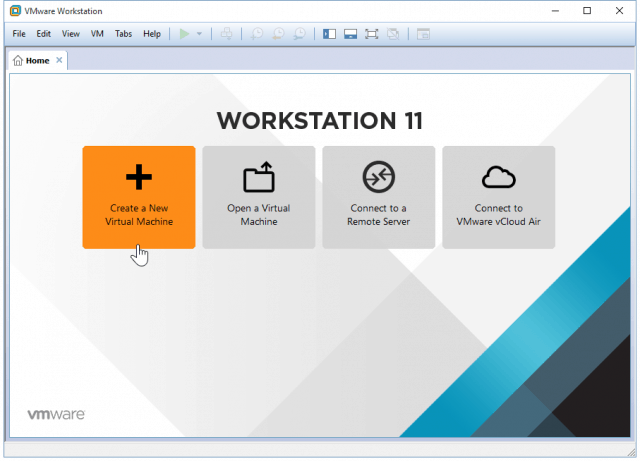
Start by opening VMware and selecting “Create a New Virtual Machine”
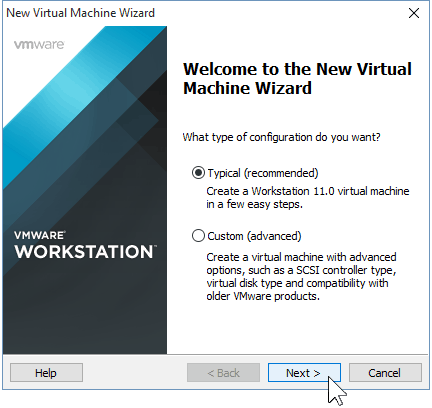
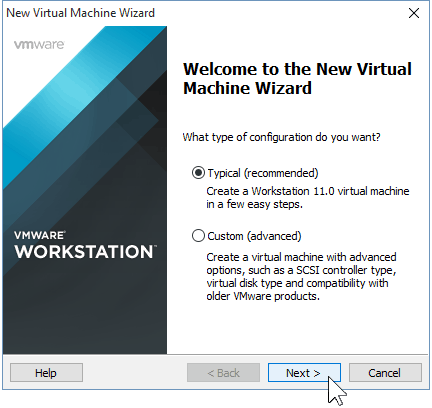
We’ll go with a Typical configuration. If you’re feeling fancy and really want to tweak the parameters, you can pick a Custom one, but we won’t be going through a full Custom setup in this tutorial.
You will now need to show VMWare the path to your Windows 10 ISO. If you don’t have one, here’s how to get it.
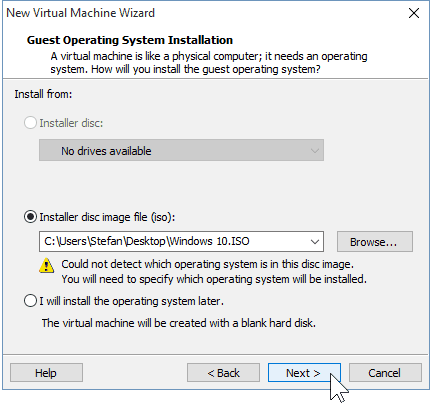
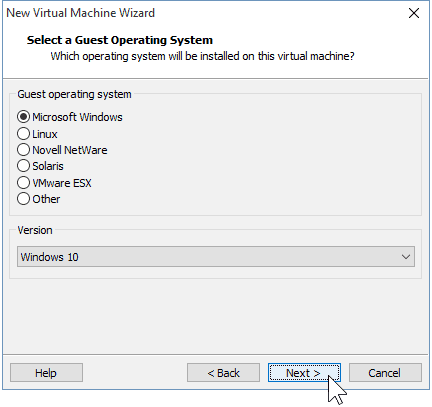
If VMware doesn’t automatically detect the OS from the ISO, you’ll need to select it manually. You’ll have the option to pick between 32 and 64-bit versions of Windows OS.

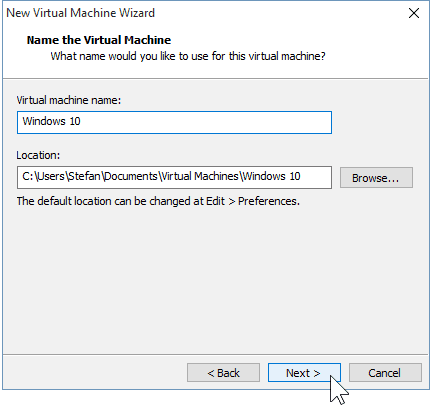
Choose a name for your Virtual Machine as well as a location where it will be stored. I stuck with the defaults here.

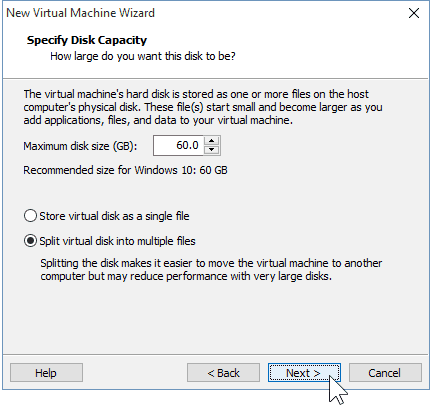
Next up is creating your virtual disk. The advised maximum limit is 60 GB, which is okay. I advise you to stay with the “Split virtual disk into multiple files” option; otherwise, VMware will immediately allocate the space on your hard drive.

Step 2: Customizing the Virtual Machine Hardware (optional)
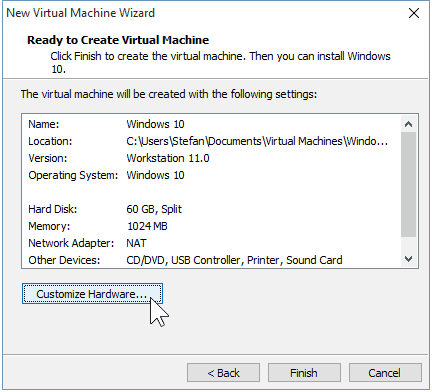
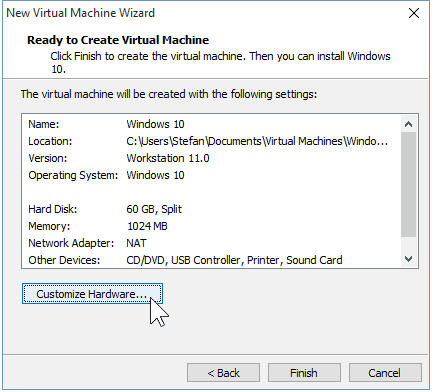
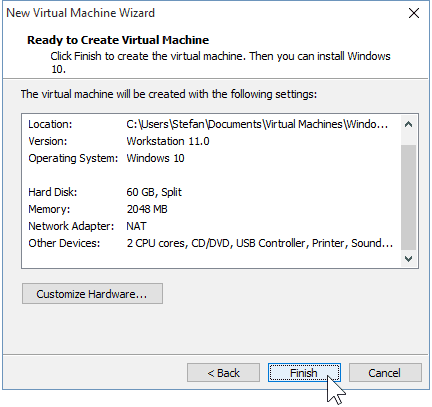
If you want to get fancy, you can customize the hardware that your VM will use. I’ll go ahead and do this to show you some of the options you can change, but if you’re okay with the VMware defaults, you can go ahead and select “Finish.”
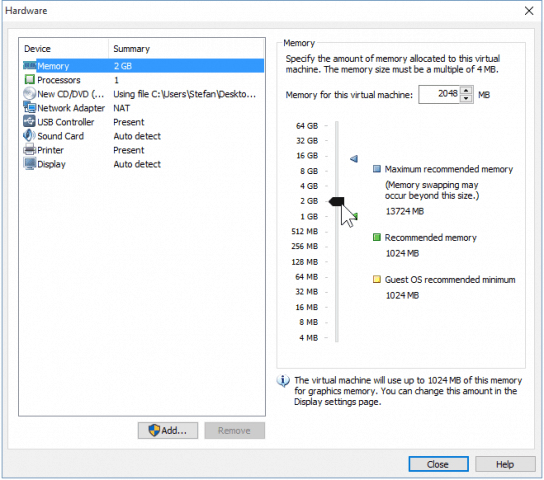
Selecting the Memory option, I can increase or decrease the available RAM for this VM. I’ll go for 2GB instead of the default 1GB.

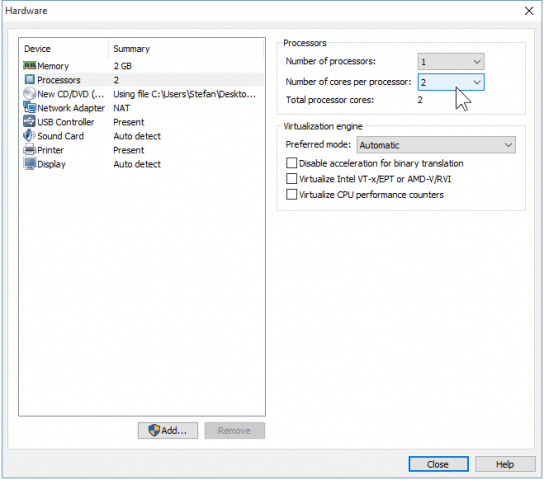
I’ll also give my VM some extra CPU power by allowing it to use two cores instead of one.
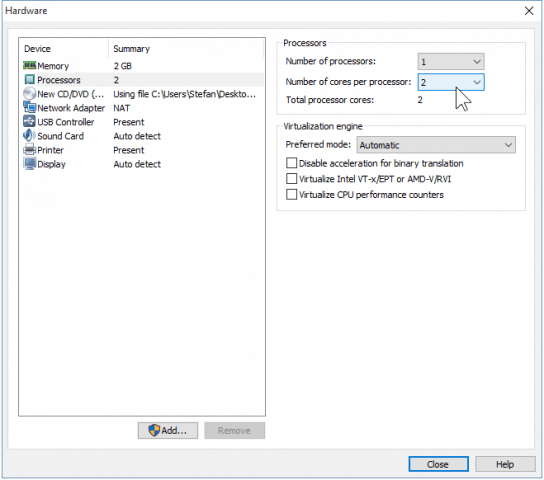
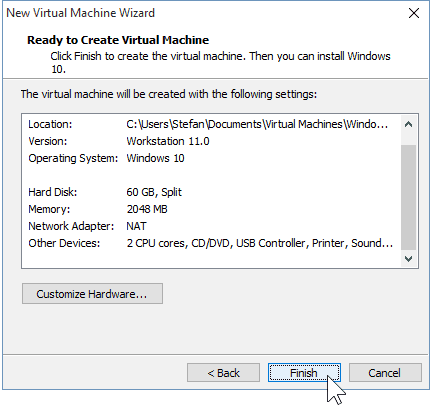
When you’re done tweaking the hardware, you can close the windows and click “Finish” on the New VM Wizard.
Step 3: Installing Windows 10
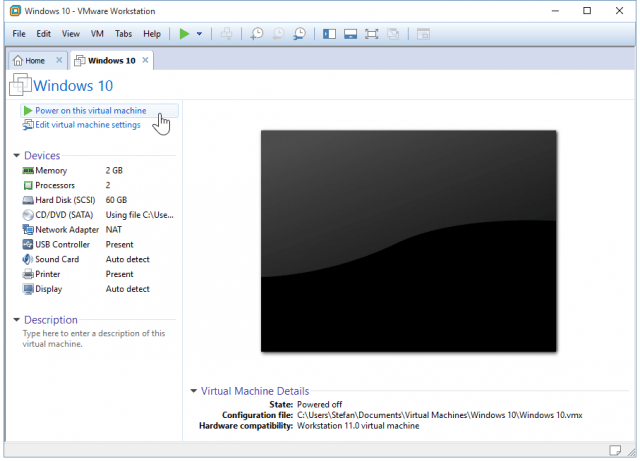
Once you’re ready to begin installing, click on “Power on this virtual machine.” From here on, the install should begin.
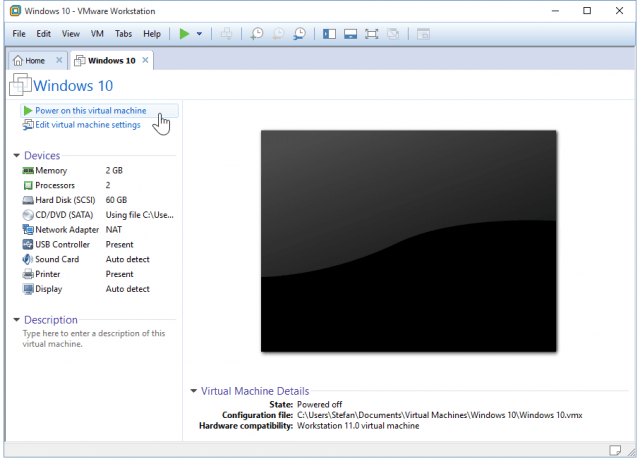
Installing Windows as a virtual machine is no different from making a clean install of Windows. If you’re not sure how to perform one, check out our article:
How To Perform a Clean Install of Windows 10
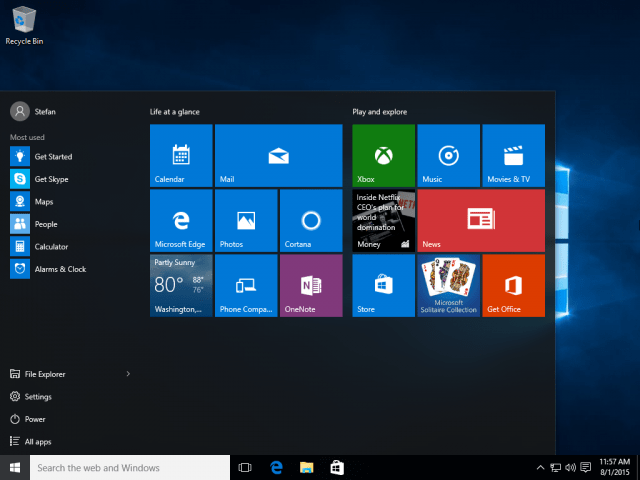
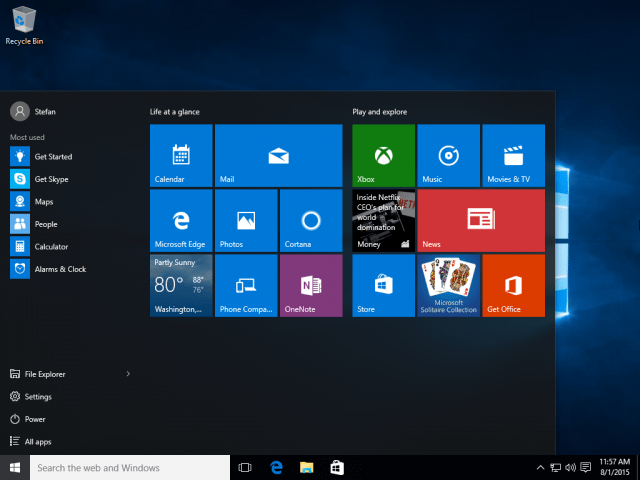
That’s all there is to it when working with VMware to create a virtual Windows 10 machine. We have an article coming soon that will show how to install Windows 10 as a VM in the free VirtualBox, too.
1 Comment
Leave a Reply
Leave a Reply


Michael
October 6, 2015 at 8:01 am
Nice tutorial. Quick question though. I’m using the Windows Insider .iso, what am I supposed to use for the product key once I have Windows installed?