How to Add Recycle Bin to This PC on Windows 11

You might want to make it easier to manage your files and folders using Recycle Bin. Here’s how to add Recycle Bin to This PC or File Explorer.
On your Windows 11 system, there are several different ways to make the Recycle Bin easier to access. For example, you can add the Recycle Bin to This PC. Or, you can pin it to the Quick Access section in File Explorer so it’s quicker to access.
The Recycle Bin is where your deleted files live until you completely empty it. Sometimes, you want to have easier access so you can manage those files and folders that you no longer need.
Hopping back and forth between the desktop and File Explorer can take time. Luckily, the following steps can save a few clicks by making the bin easier to access.
Pin Recycle Bin to File Explorer
One of the more straightforward ways to add the Recycle Bin to File Explorer is to pin it to the Quick Access pane on the left.
- Right-click the Recycle Bin on the desktop and select Pin to Quick access from the context menu.

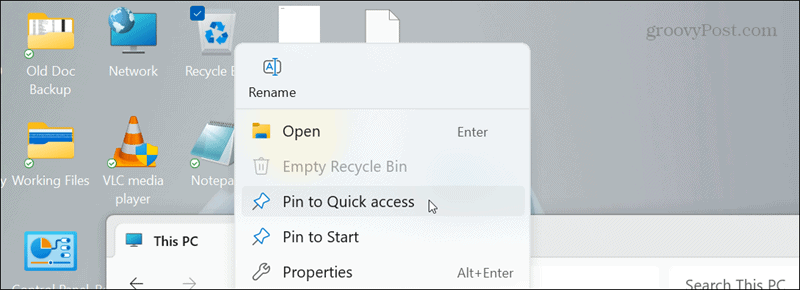
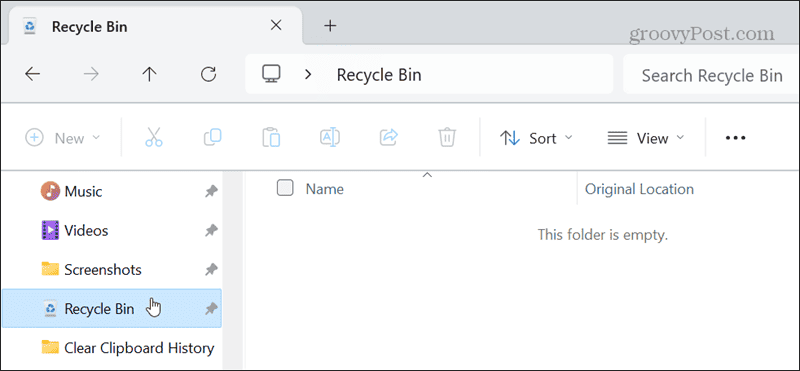
- An entry for the Recycle Bin will appear in File Explorer’s Quick Access section in the left column.

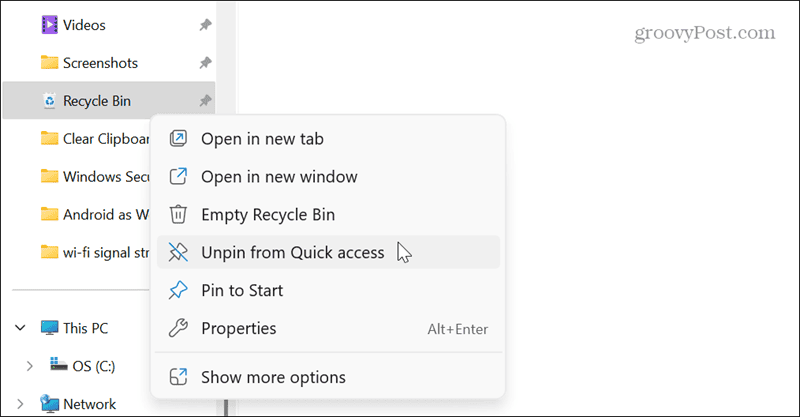
- If you want to remove the Recycle Bin from the Quick Access section in File Explorer, right-click the entry and select Unpin from Quick access from the menu.

Add Recycle Bin to File Explorer to This PC
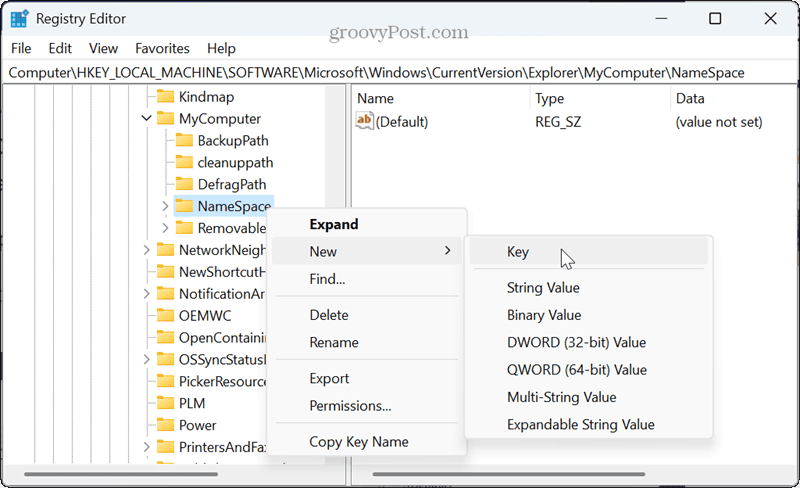
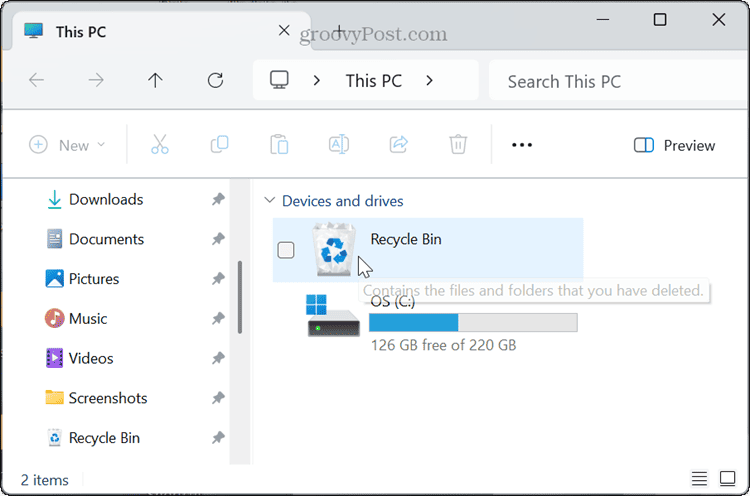
If you prefer a more direct access option to the Recycle Bin, you can edit the Registry using the following steps.
You can choose one or both options to achieve your goal, whether you want to quickly access the Recycle Bin from File Explorer or get to it from the This PC section. Adding the Recycle Bin to an easily accessible location helps you manage the files you no longer need. It also makes it quick to restore files and folders when needed.
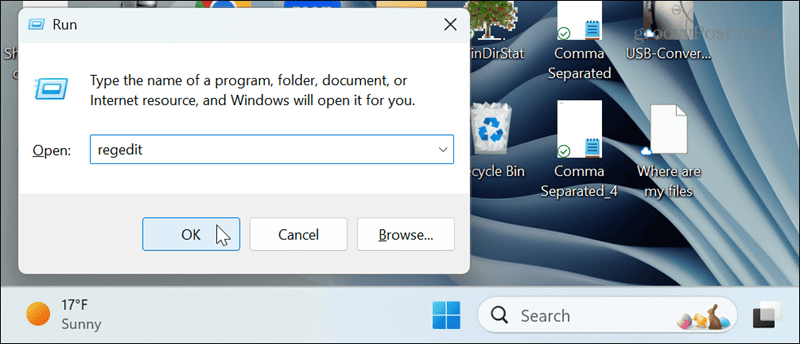
HKEY_LOCAL_MACHINE\SOFTWARE\Microsoft\Windows\CurrentVersion\Explorer\MyComputer\NameSpace

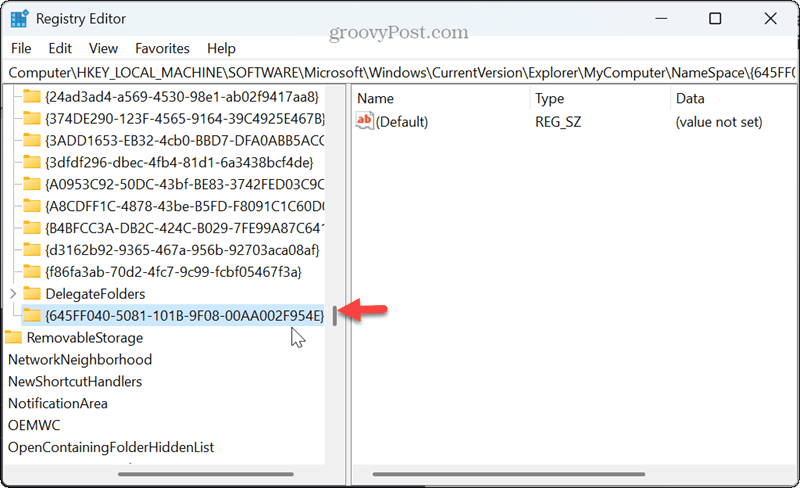
{645FF040-5081-101B-9F08-00AA002F954E}

Making the Recycle Bin Easier to Access
Leave a Reply


