How to Share Your Screen in Microsoft Teams

Learn how to share your screen in Microsoft Teams during a meeting or chat conversation. You can share your entire screen or just a portion.
One of the best features of Microsoft Teams is the ability to share your screen. Whether you want to pop open a presentation during your meeting or show how to use an app during your chat, Teams has you covered.
Screen Sharing Availability
Before you move onto the instructions for sharing your screen during a meeting or chat, here are a few things to keep in mind.
- If you use the Microsoft Teams web app, you can currently only share your screen using Google Chrome or the latest version of Edge.
- With the desktop app on Linux, you cannot use the window sharing feature (explained below).
- If you share your screen during a chat, your participants must be active on Microsoft Teams to accept your request.
Share Your Screen in a Teams Meeting
To share your screen with your meeting participants, click the Share Content icon on the top right of the Teams meeting window.


You’ll then see the following sharing options:
- Desktop: Displays everything you have on your screen.
- Window: Displays a certain window or open application.
- PowerPoint: Displays a presentation you select.
- Browse: Lets you browse for and upload a file from your computer or OneDrive.
- Whiteboard: Lets you use Microsoft Whiteboard or Freehand by InVision.


After selecting the item, you want to share, you’ll see it encased in a red border. You can then move your cursor, type a few words, point something out, or do whatever you need, and your participants will see it.
When you finish with screen sharing, click the Stop Sharing icon in either the small meeting toolbar or on the top right of the Teams window.


Share Your Screen in a Teams Chat
To share your screen with one or more chat participants, click the Screen Sharing icon on the top right of the conversation window.


You’ll then see two sharing options:
- Desktop: Displays everything you have on your screen.
- Window: Displays a certain window or open application.


After selecting the item you want to share, your chat participant(s) will receive a notification that you want to share your screen with them. They must click Accept screen share for you to continue.


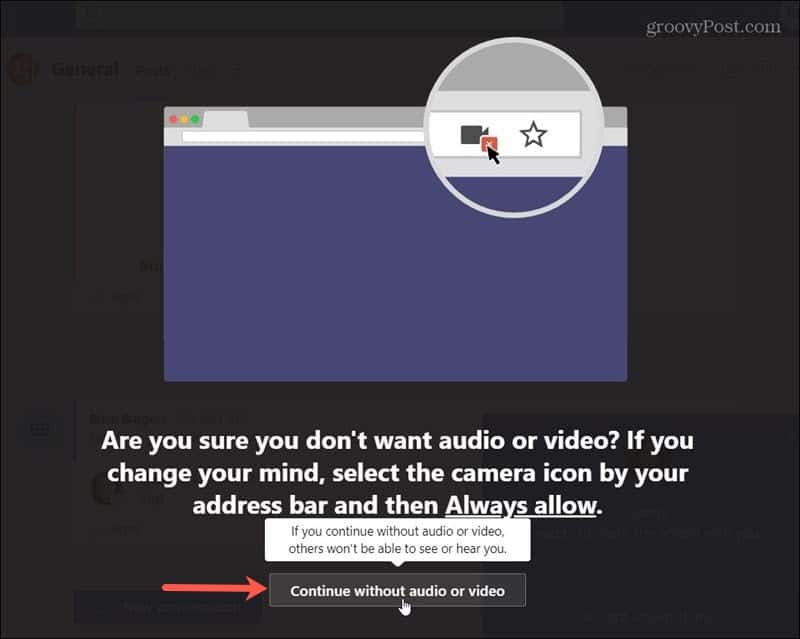
If your participant(s) chooses to continue without audio or video or wants to allow access if they didn’t previously, they’ll have options to adjust this. Just remind them that by allowing audio, they can talk to you while you share your screen.


When you finish sharing your screen, click the Stop Sharing icon at the top of the Teams window or in the toolbar, just like when you stop sharing during a meeting.


Screen Sharing is Simple in Microsoft Teams
Don’t forget about the screen sharing feature in Microsoft Teams. This can give you and your coworkers a great way to describe how to use an application, work together on a design, or collaborate on a document with that visual on all your screens at once.
For more help using Microsoft Teams, take a look at how to hide a chat or change your Teams camera background.
Leave a Reply
Leave a Reply


