How to Take a Selfie on Android

It can be tricky taking a selfie on Android (or at least a selfie you want to share). If you want to know how to do it, follow this guide.
There’s nothing harder than taking a good photo of yourself—especially if you’re the photographer and the subject.
If you’re trying to take a selfie on Android, you’ll need to figure out the best post, the best app to use, judge the lighting, and more. It can be tricky to figure out what to do, especially if you’re a photo novice.
To help you, here’s what you’ll need to know if you’re unsure how to take a selfie on Android.
Tips for Taking Good Selfies on Android


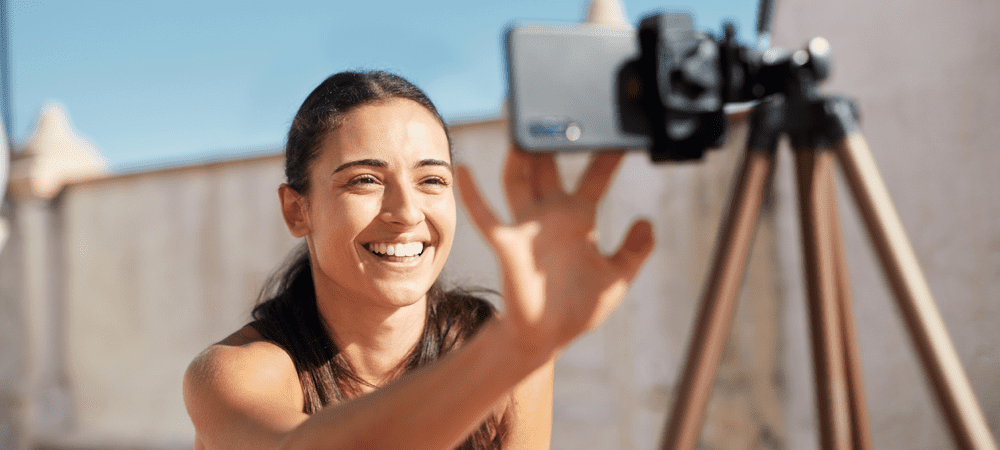
An example of a selfie being taken on a smartphone
Before you start taking selfies on your Android device, you’ll want to consider a few things first. Here are some important things to remember.
- Decide on your camera. Most modern Android devices will come with a front or rear camera, but the best camera (in terms of resolution) will be at the rear. Taking a selfie without seeing your display can be tricky, so you may want to choose convenience over quality, depending on your device.
- Consider a timer. A timer will give you a short delay to allow you to position your camera and get ready for the perfect photo. You should be able to set this in your camera settings menu.
- Clean your camera lens. If your camera lens is covered in fingerprint smudges or other dirt, your photo quality will be reduced. Make sure to check and clean your camera lens before you begin.
- Check your lighting. Lighting can make (or ruin) a selfie—make sure you’ve got the right lighting in place for your photo. If it’s looking a little dark, you may want to switch the flash on in your camera settings first.
- Consider accessories. Struggling to get into position for a good selfie? You could always consider a Bluetooth-capable selfie stick, allowing you to place your phone further away from your face to get a better selfie. If that doesn’t work, purchase a tripod instead.
- Position your face, head, and shoulders. You don’t want to position your camera too high (or too low), so consider your positioning before you take your picture. A bit of camera titling is fine, but if the shot is facing right up your nose, you’re probably going to want to retake it.
- Consider a third-party camera app. The built-in camera app is fine for most people, but if you want additional features or editing tools, you may want to try a third-party app instead.
- Take a second (or third, or fourth) selfie. If you aren’t happy with the first selfie you take, keep trying until you find the right one. Experiment with different positions, lighting, and picture quality.
How to Take a Selfie on Android
It isn’t easy to create a one-size-fits-all guide for Android users. Each manufacturer may use a slightly different camera app, Android version, theme, or configuration. For most users, however, the steps below should match (or closely match) what you expect to see to quickly take a selfie on Android.
If you plan on using a Bluetooth accessory to help you, make sure that it’s paired to your Android device and connected before you start.
To take a selfie on Android:
- Open your Android camera app.
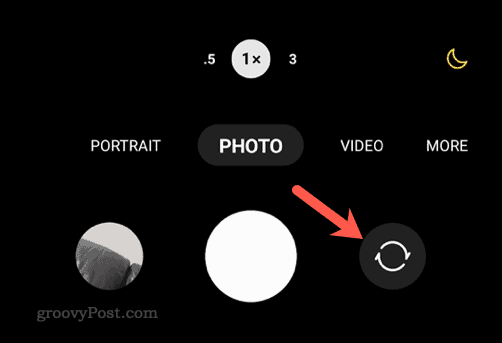
- Tap the rotate camera button to switch to your front or rear camera (as desired).


- Position your camera away from you using your arm.
- Set your timer and flash options in the camera settings menu—this will vary depending on your camera app.


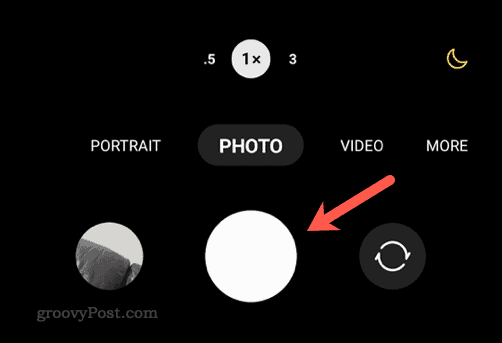
- When you’re ready, tap the take photo button. On some devices, you may also be able to press one of the volume buttons to take a selfie instead.


Great Photography on Android
If you follow the steps above, you should be able to confidently take a selfie on Android. You don’t need to worry about your picture quality—if you’re unhappy, take a breath, reposition yourself, and try again.
Android cameras aren’t just for selfies. For example, you can use your camera to scan QR codes on Android without installing a third-party app. You can even use your Android camera as a webcam on a PC with the right software.
Leave a Reply
Leave a Reply


