Here’s How to Use Apple’s iCloud on Windows 10

While Apple seems to fall short in the cloud services area, it does offer its iCloud service for PC users, and here’s a look at using it on Windows 10.
We previously looked at setting up iCloud for Windows; in this article, we revisit an updated version and show you how to set it up on Windows 10. Beyond iTunes and my iPod Touch, I am not much of an Apple user. I do have an iCloud account as far back as the disastrous MobileMe days, but I hardly used the account until I got an iPod Touch back in 2009. Then I wanted to use the device and the service fully.
Differences Between Cloud Drives
Unlike Google and Microsoft, Apple has not been a popular cloud platform considering the company’s ability to be two steps ahead in so many areas; services continue to be amiss. With Microsoft giving away online storage tiers starting at 15 GB or higher compared to iCloud’s limited 5 GBs, users are probably best served to complement their Apple devices with third-party Cloud services like Microsoft OneDrive, even if you want to still engage in the Apple ecosystem. With that said, let’s take a look at setting up the latest version of iCloud for Windows.
Things you should know:
- You need an iCloud account.
- Computer running Windows 7 or later
- Safari 6 or later, Firefox 22 or later, or Google Chrome 28 or later
- An active Internet connection
- Close all open applications
Using iCloud on Windows 10
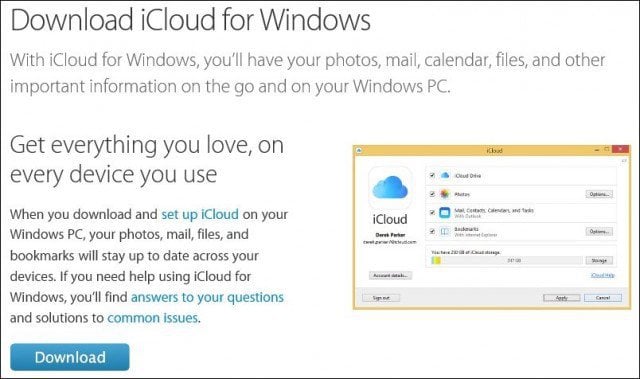
Download iCloud for Windows here, then proceed to install.
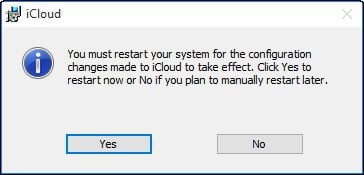
The install experience is quick and basic, and you’ll be prompted to restart your computer to complete the installation.
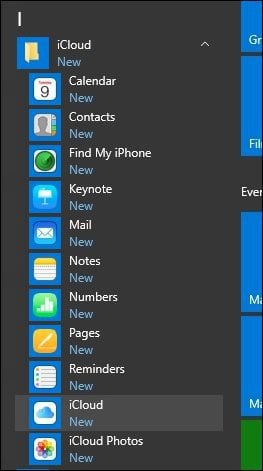
Launch iCloud for Windows. You can find it under Start > All Apps > iCloud > iCloud.
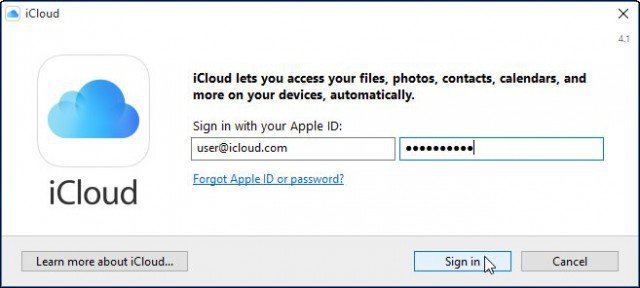
Proceed to sign in with your Apple ID.
The following screen will display a list of things you can sync with iCloud.
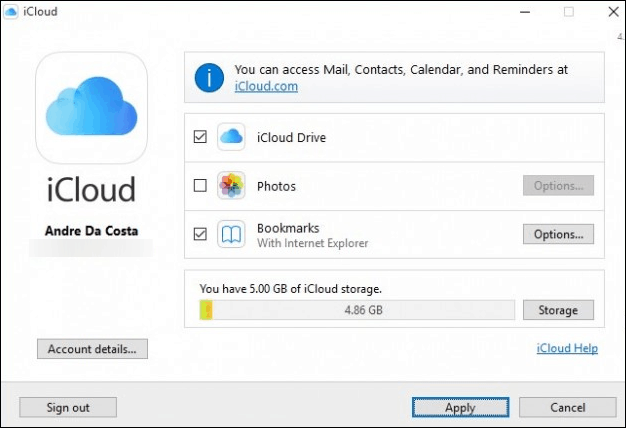
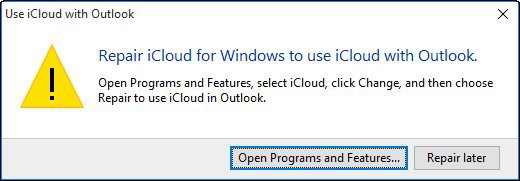
One of the first things I discovered is the lack of support for Outlook 2016. This is understandable since Office 2016 just came to market. If you depend on Outlook integration, it’s not available right now. Click Repair Later if you get the following dialog.
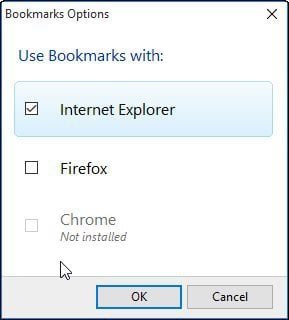
The Bookmarks option now offers support for Chrome and Firefox (I don’t see Microsoft Edge support coming anything soon). Since I am a loyal IE user, I will stick with that, click Apply to confirm changes.
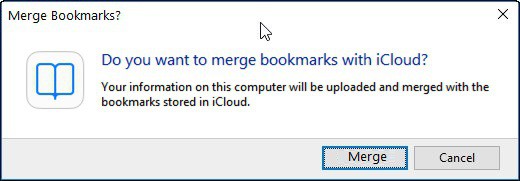
You will be prompted if you would like to merge bookmarks (IE Favorites) with existing bookmarks on iCloud. Click Merge.
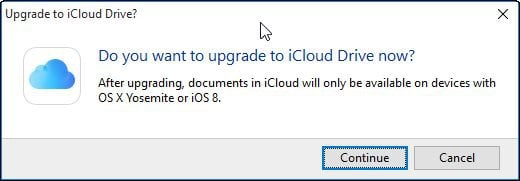
I notice during this portion of setup; I was asked if I would like to upgrade iCloud. So it’s a possibility the version you download from Apple’s page is not the latest; click Continue if prompted.
Accessing and Managing Your Synced Data
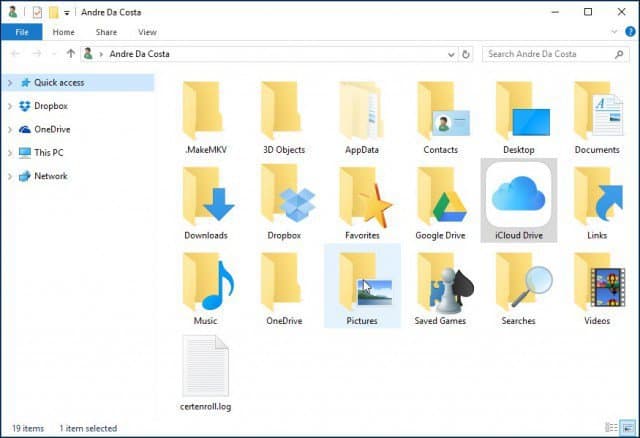
If you want to access and manage your synced iCloud data, you can do so from your user folder. Just click on the iCloud Drive icon.
There you will find your Pages, Keynote, and Numbers files. Because there are no native Windows versions of these applications, you can only create them online through iCloud.com.
When you save or copy files to your iCloud Drive, they are synced automatically.
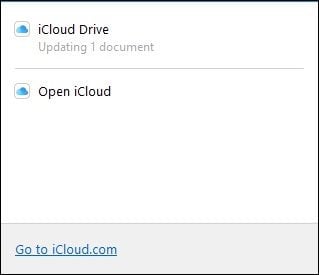
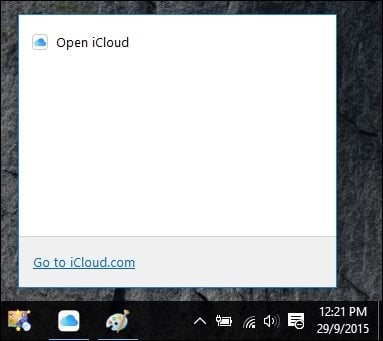
If you want to adjust your iCloud sync settings, you can launch the iCloud system tray icon.
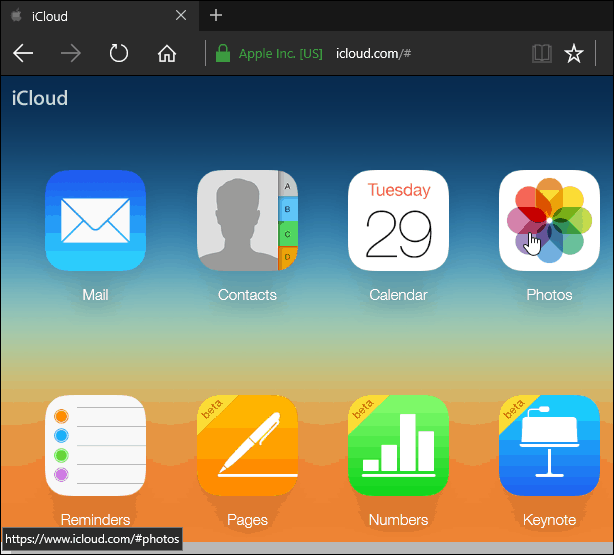
It’s also worth noting that when you select any of the services from the iCloud folder from the Start menu, they will also open up in iCloud.com.
What can I say? If you are using Windows, I honestly don’t see much of a benefit compared to OneDrive or even Dropbox and Google Drive. Maybe if you’re a Mac user transitioning to Windows and use Apple devices such as an iPad or iPhone, it helps to have this. Overall, the setup experience is easy enough but could be more seamless than other Cloud services.


Joe L
October 4, 2015 at 11:46 am
Andre.
I did as you directed and I did get all of my files over to my Surface 3. I can bring up the contacts files with no problem, but how do I use it with the mail app that I have with windows 10? I would like to merge the contacts to the people app, but I can’t find out how to do it. On my phone there is a section in the setup , that does just that. Therefore I have my iPad contacts on my windows phone. Because of this if I draft an email, all I do it put the first letter of the person I want to email and it will pop up. I can’t do this with the current setup on my Surface 3.
Thank you for any help on this issue.
Joe L
Matt
November 4, 2015 at 5:32 pm
Is there any hope in sight of the integration of iCloud Mail with Outlook. This is beyond essential. I’ve looked at the boards just tonight and found over 200 people complaining of the same problem.
judy norris
January 28, 2016 at 11:42 am
I downloaded icloud for windows yesterday and wish I had never done it !!!!!!!!!!!!! Now, everything I had saved to my “desktop” is not there. All I see when I boot up my computer is my wallpaper. I thought it would all still be there for me to just click on and open the files I had “saved” on there.
Terry Kirby
March 24, 2016 at 3:01 pm
Icloud Bookmark sync will totally screw up, doubling, tripling and creating duplicate folders all over the place… DON’T USE IT! And I still can’t get my Win 10 outlook 2010 to sync up, it works on ipad, iphone & Win 7 machine, but not on win 100 no matter what I try… IT BASICALLY SUCKS, just like iTunes is unmanageable… Apple Schmapple where software is concerned. Nice devices, lousy software and lousy software support.
Joanna
March 29, 2016 at 9:37 am
I’m a bit confused why some of the files and folders I created on my old Windows 7 computer and saved to icloud drive do not show up when accessing icloud.com from my new Windows 10 computer – especially as I can still access them from my old windows 7 computer or from a Mac.
I did try installing icloud drive onto my new Windows 10 computer following the instructions but the missing files were still missing – so I removed it to avoid confusion.
Anyone got any suggestions how to resolve this?
Terry Kirby
March 29, 2016 at 1:58 pm
Wish I had an answer… I have tried every suggestion I could find and installed; reinstalled, played with my Apple ID, etc.. Nothing makes it work with my Outlook 2010. I am most interested in synching my calendars as I have an iPad, iPhone and 2 PCs, one with Win 7 and the other with Win 10. Everything works beautifully except my Win 10 laptop which is where I would most like to update my calendar. Between this problem, the way iCloud scrambled my “synced” bookmarks, and the iTunes catalog unmanageability I am just disillusioned with Apple’s ability to interact properly with Windows. If you find an answer to any of this I’d be glad to hear it.
Terry Kirby
March 29, 2016 at 2:01 pm
Clarification: “Nothing makes it work with my Outlook 2010. (On my Win 10 machine, it works fine with it on Win 7) I have to keep a Win 7 because I use Pro Tools and they have yet to allow Win 10 under support… (Another pet peeve)
Terry Kirby
March 29, 2016 at 2:07 pm
One more thing, I just added a file to iCloud from my Win 10 machine and it shows up on all devices! But my Outlook 2010 calendar on Win 10 still won’t sync up…
Joanna
March 30, 2016 at 8:39 am
I really found helpful the clear instructions on your site with snapshots which makes it easy to follow. There’s a lot of angst post Windows 10 with Apple about files disappearing, devices not syncing properly, and chaotic storage of folders and files. It’s disappointing Apple are keeping their heads down and not coming clean with icloud users. I appreciate your quick reply – sites like yours are a lifesaver and save a lot of wasted time trying to find the right answer.
sigi
September 25, 2016 at 4:34 am
I cannot sign to my iClaud it keeps referring that I am not connected to the internet but I am
Barry Lundin
May 7, 2017 at 12:47 pm
Coming late to this party – I also am very frustrated with not being able to sync Outlook notes from my PC (Win 10) to iCloud. Apparently this will not happen in near future. Still trying to figure out a work-around. BUT, I am able to sync my Outlook calendar to iCloud calendar with no trouble. I have a pc laptop running win 10 and Outlook 2007, iPhones 5s & 6, and two iPads. Put a calendar entry in anyone of the devices and it will show up on the others. In Outlook it is called “calendar in iCloud” and on my iPhone 6 it is “iCloud, Calendar,Public calendar”. Don’t know if this will help and I’m sorry I can’t help out with how I got to this stage but it does work.
Mike
January 1, 2018 at 12:50 pm
You forgot the most important part. You can install iCloud software on Windows. You can set up an iCloud account. BUT YOU CAN NOT sign into iCloud EVER unless you register it first with an Apple device. In other words people that are Windows users with Android phones can never sign into iCloud. Absurd but true. It’s like Google Drive requiring you to own a pixel or Google chromebook before you can use it. I dislike Apple more than ever. All I want to do is look at pictures from iSheep and Apple locks you out. Why people buy into a company like this I’ll never know. It’s like getting locked into a particular car company and committing to only buy their cars for the rest of your life. Crazy.
Mike Irwin
June 20, 2018 at 7:22 am
26 days uptime …
net stats srv no longer available – only net stats workstation
(version 10, 1703, 15063.1088)
reason for researching: come to use it this morning and all but three of my Edge tabs have closed. Wonderful :(