How to Use Speech-To-Text in Google Docs

If you prefer to speak than type, you can use speech-to-text in Google Docs to create a document without touching your keyboard. This guide explains how.
If you’re writing a long document, you don’t need to type to get the words down on your page. Instead, you could use speech-to-text tools to convert your thoughts into written words instead.
Google Docs has built-in speech-to-text functionality that you can use to create documents quickly. Rather than slowly typing, you can quickly talk your way through your document.
If you’re unsure how to use speech-to-text in Google Docs, follow the steps below.
Before Using Speech-to-Text in Google Docs
Before using speech-to-text in Google Docs, you’ll need to prepare your PC, Mac, or Chromebook by doing two things.
1. Check Your Microphone Settings
First, you’ll need to make sure you have a working microphone. For clarity, it’s a good idea to use a microphone that can record clear speech without background interference. Interference could make it difficult for Google Docs to pick up on the words you’re saying. This, in turn, makes the transcription process harder for Google Docs.
If you have a Windows 11 PC, you can test your microphone in the Windows 11 settings menu and make sure your input volume is high enough to pick up your speech. Similar tools are available for Mac and Chromebook users too. If you have trouble with speech-to-text, ensure your environment is quiet enough to work in.
2. Download Google Chrome
Secondly, you should make sure you’re using the Google Chrome browser. Speech-t0-text in Google Docs will only work in Google Chrome. If you don’t have it, you’ll need to download and install Google Chrome first.
How to Type Using Your Voice in Google Docs
You can follow the steps below when you’re ready to start using speech-t0-text in Google Docs.
To use speech-to-text in Google Docs:
- Open your Google Docs document or create a new one first.
- In the Google Docs document, go to Tools > Voice typing.

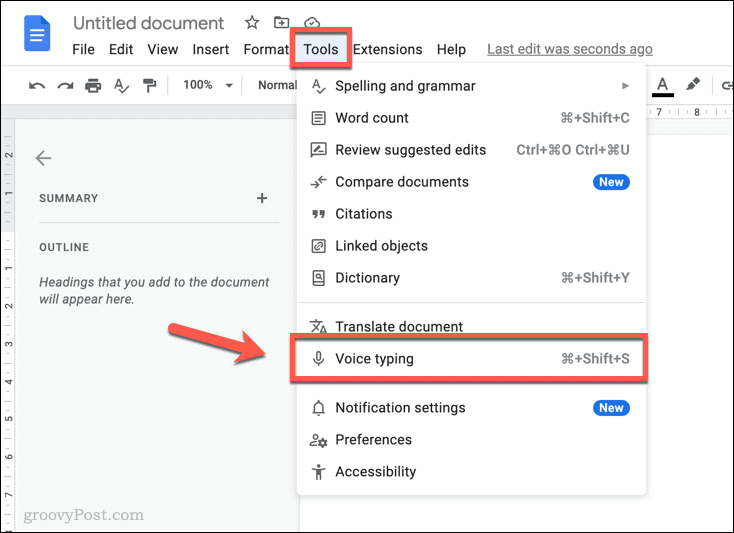
- A pop-up box with a microphone icon will appear in your document. This will allow you to switch voice typing on or off in Google Docs.


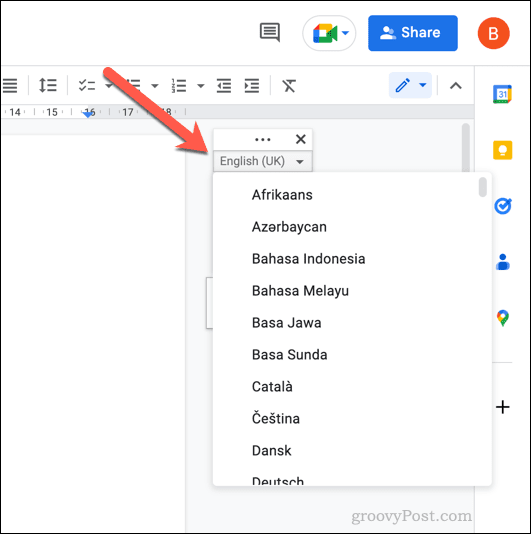
- To change your language, press the drop-down menu in the speech-to-text box and select an alternative. By default, it will use your document’s default locale.

- To start typing with your voice, click the microphone icon to begin the recording.

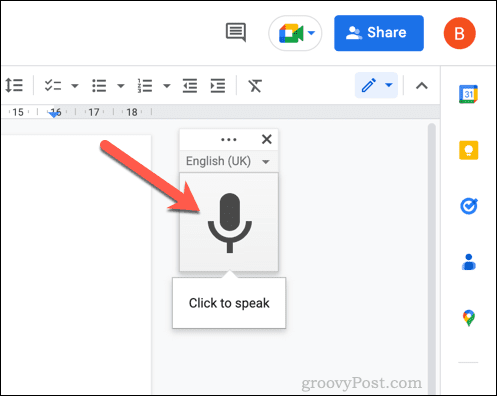
- With the microphone active, start talking into your microphone. The text will be inserted into your document directly.
- If you want to add punctuation to your speech-to-text, say the type of punctuation you want to use. For example, say comma to insert a comma or period to end a sentence.
- To end the speech-to-text process, click the microphone icon again to stop the recording.


Once you’ve used speech-to-text in Google Docs to create your transaction, you can edit it manually using your mouse and keyboard. A full list of punctuation options is available in the Google Docs documentation.
How to Edit Text Using Voice Commands in Google Docs
Do you want to edit your transcription as you’re speaking? Thanks to speech-to-text, you can. Just like you can add punctuation to your text as you speak, you can use certain voice commands to make changes to your document.
How to Select Text Using Voice Commands
If you want to select the text, you can say select followed by a series of arguments.
- To select all of the text, say select all. To select the last or next line, say select last line or select next line.
- If you want to select a certain number of characters before your blinking cursor, say select last x characters (replacing x with a value). Likewise, say select next x characters (replacing x with a value) to select a certain number of characters after your blinking cursor.
- You can select text based on character and line position, matching words, paragraphs, and more. You can use similar commands to move around your document by saying move to or go to (e.g., move to the end of the paragraph).
A full list of arguments is available in the Google Docs documentation.
How to Edit Text Using Voice Commands
Once you’ve selected the text, you can format it.
- Say apply heading 2 to make it a header using an h2 tag. Or, if you prefer, why not make it bold by saying bold or italics?
- You can also apply text color by saying text color followed by a color (e.g., text color blue). Font size can be increased or decreased by saying increase font size, decrease font size, or font size x, replacing x with a value between 1 and 100.
- You can also use commands like copy, paste, cut, delete, and more to make further changes to your text.
The full list of editing commands is available in the Google Docs documentation.
How to Stop Editing Text Using Voice Commands
Want to stop editing your document using text-to-speech quickly? You can use the command stop listening to deactivate it without clicking the microphone button.
Likewise, you can say resume listening to re-activate the microphone recording again.
How to Get Extra Help With Using Voice Commands
- You can quickly view the available options by hovering over the microphone icon and selecting the help icon.

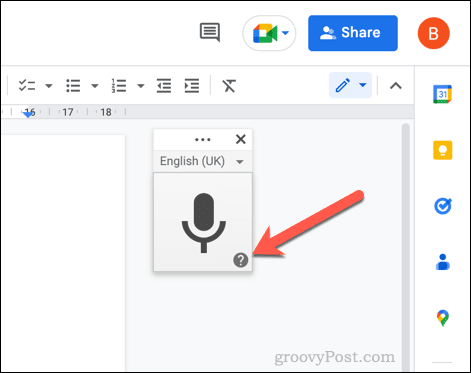
- A pop-up help menu will provide a list of available commands and information. This will help you if you’re starting to use voice typing in Google Docs.

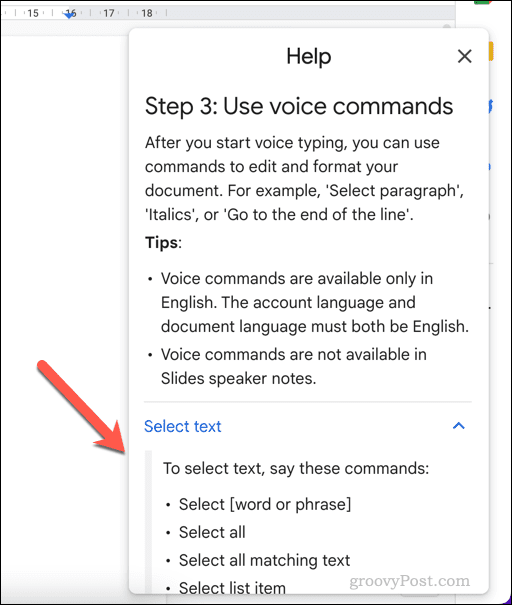
- You can also say voice typing help when voice typing is active to view the same menu.
Creating Different Documents in Google Docs
Thanks to the steps above, you can use speech-to-text in Google Docs to create a document without typing a single thing. Your voice allows you to write, edit, and manipulate your text to create the documents you need.
Are you a Google Docs beginner? There are all kinds of documents you can create in Google Docs. For instance, you could write a book in Google Docs with ease. At the other end of the scale, you could create business cards in Google Docs to share your name and contact details when you’re out networking.
Thanks to Google Docs’ online storage, you’ll never need to worry about losing your document. If you decide to use Google Docs offline, don’t forget to sync the changes when you’re next online.
Leave a Reply
Leave a Reply


