How to Check Your Graphics Card on Windows 11

Unsure what GPU you have? If you want to update your drivers or troubleshoot, you’ll need to find out. Here’s how..
Your PC uses a Graphics Processing Unit (GPU) or graphics card to display Windows 11’s graphics on your screen.
A laptop or budget PC will most likely have an integrated graphics card (meaning it’s soldered in with the motherboard). Other systems have a dedicated card that you can swap out, which you’ll typically see on high-end desktop PCs or gaming machines.
Whether it’s integrated or a dedicated card, there will be times when you need to know which GPU you have. We’ll show you how to check your graphics card on Windows 11 below.
How to Check Your Graphics Card on Windows 11
Checking your graphics card on Windows 11 is straightforward as long as you know where to look.
How Do I Check My GPU Status on Windows 11
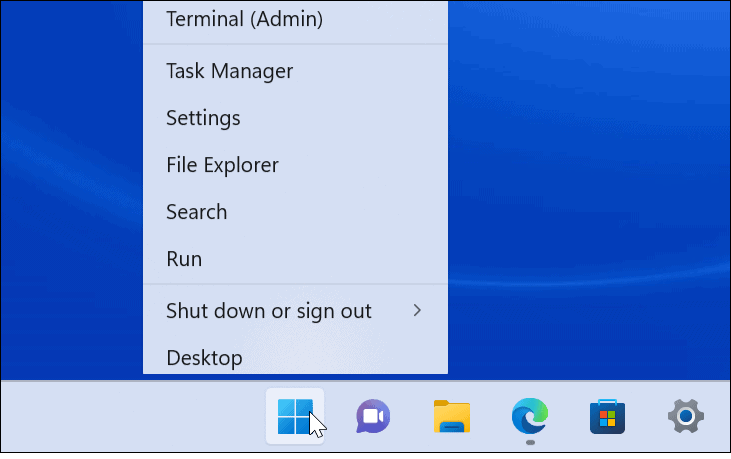
- Open Task Manager by right-clicking Start and choosing Task Manager from the menu.

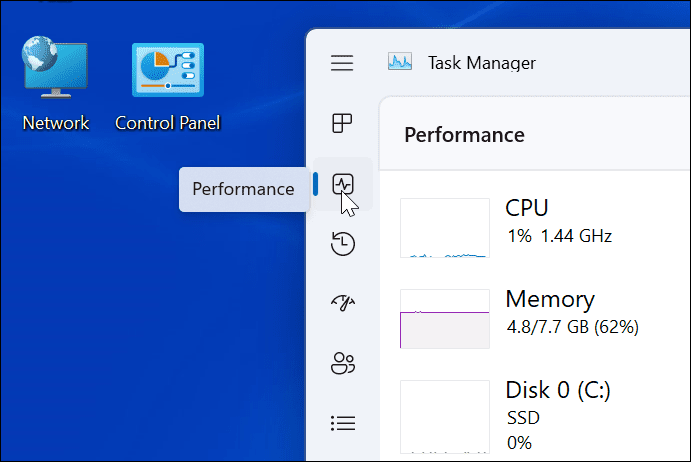
- When Task Manager launches, click the Performance tab.

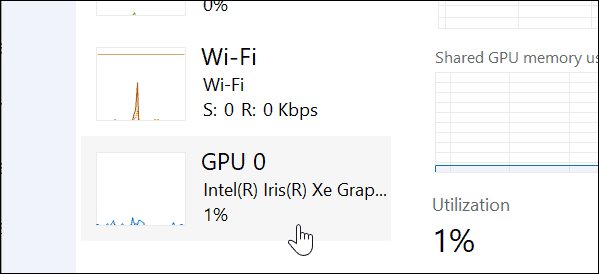
- Click on your GPU from the list—if you have more than one, they’ll be labeled GPU 0 and GPU 1.

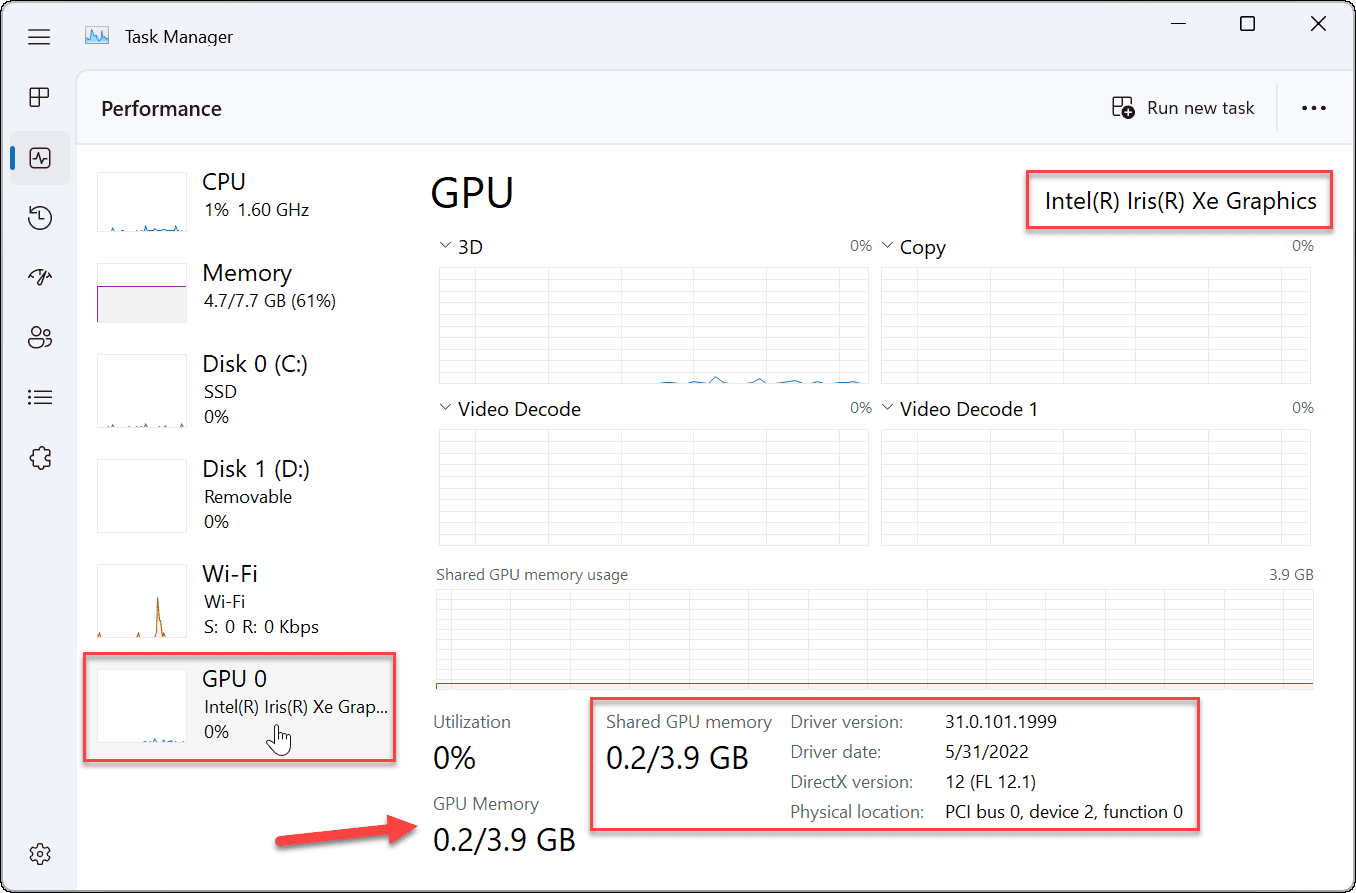
- You can find the name of your graphics card in the upper-right corner of the information panel.
- In the GPU Task Manager panel section, you’ll find other data like the card’s memory, driver version, driver data, DirectX version, and physical location listed at the bottom.

How to Check Graphics Card via Settings on Windows 11
Windows 11 also allows you to check your graphics card information via the Settings menu.
To Check GPU via Settings
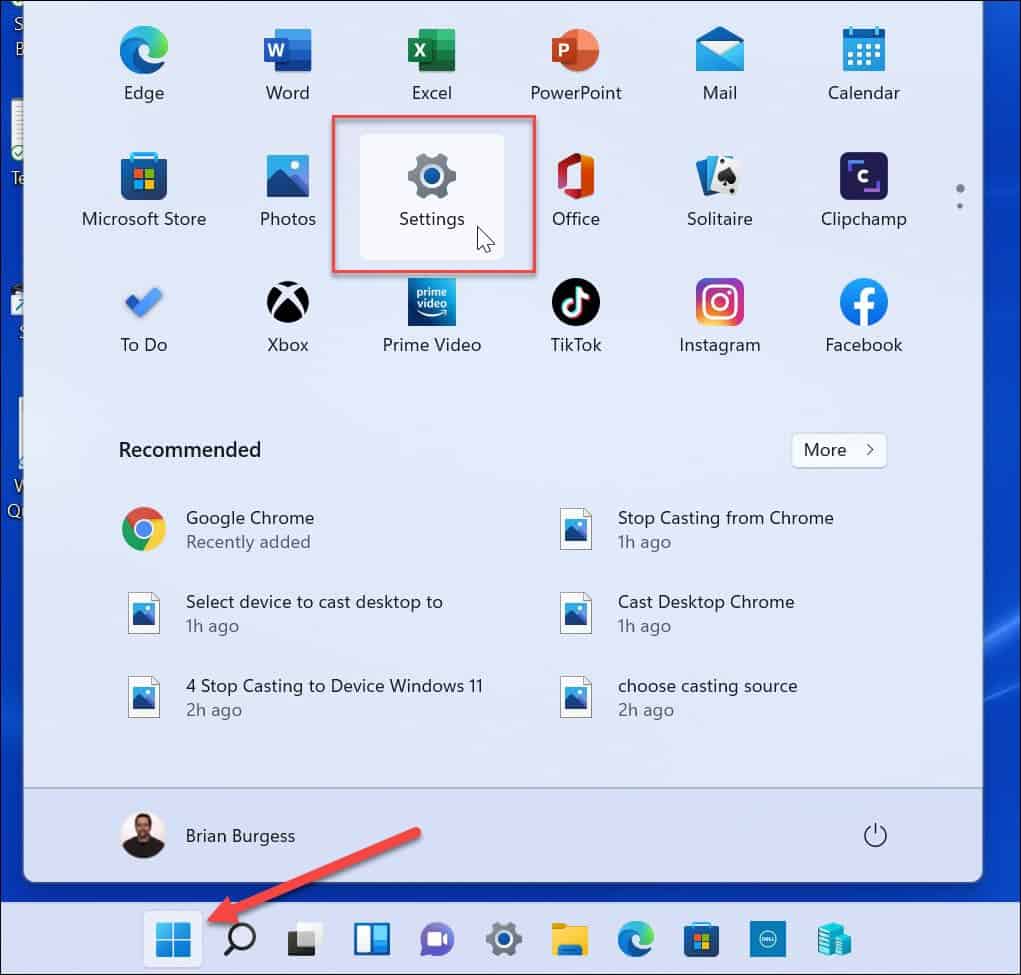
- Open Settings via the Start menu.

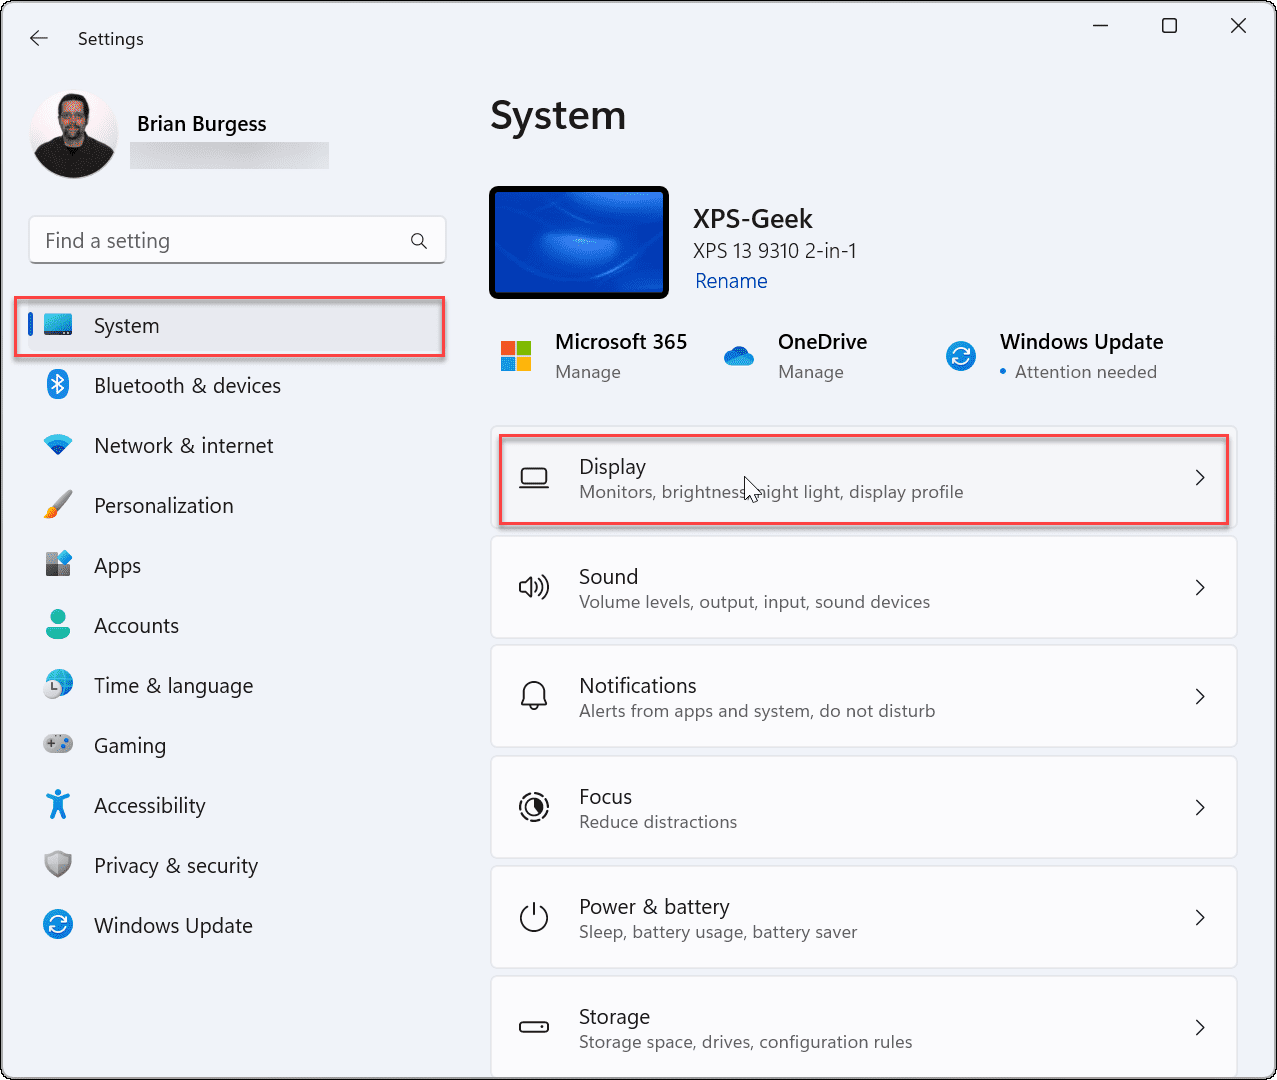
- When Settings launches, click System from the list on the left and the Display option on the right.

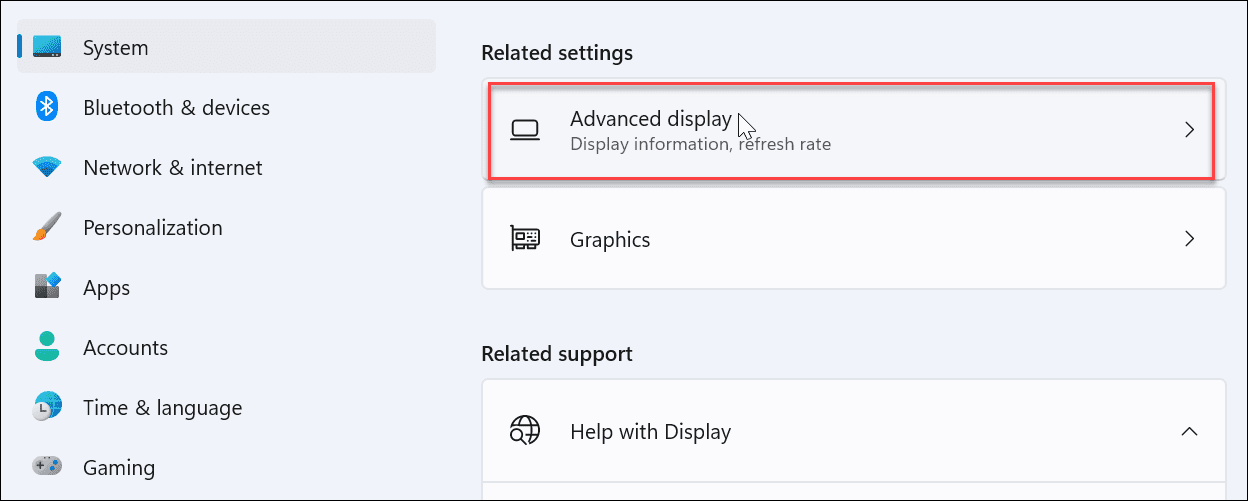
- Click the Advanced display option.

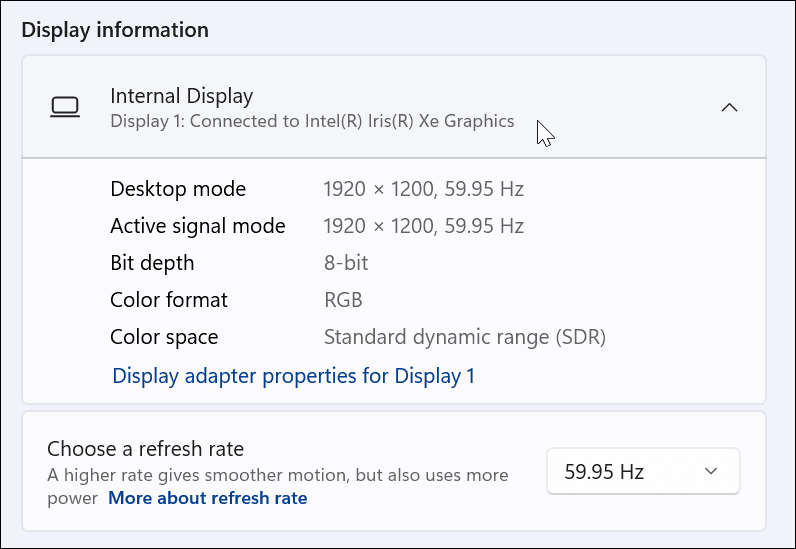
- Expand the Internal Display menu—you’ll find the name of the connected graphics card listed there.

How to Check Graphics Card with Device Manager
Another method you can use to check your graphics card is using Device Manager.
- Hit Windows key + R on your keyboard to launch the Run dialog.

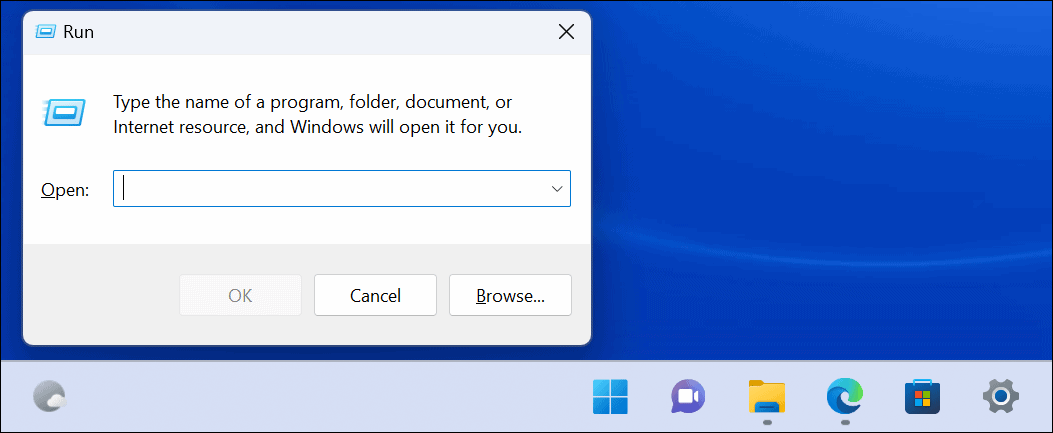
- Type devmgmt.msc and click OK.

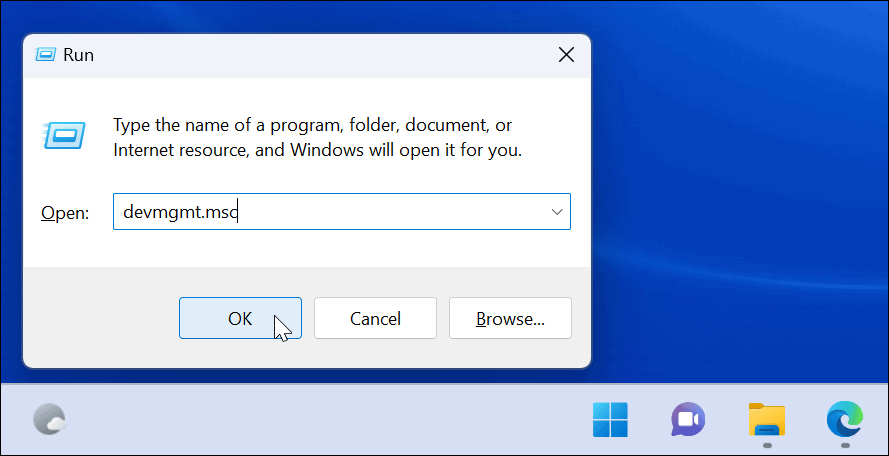
- When Device Manager opens, scroll down and expand the Display adapters section to find your graphics card(s).


Use the System Information Tool
Yet another way you can check your graphics card is by using the built-in System Information tool on Windows 11.
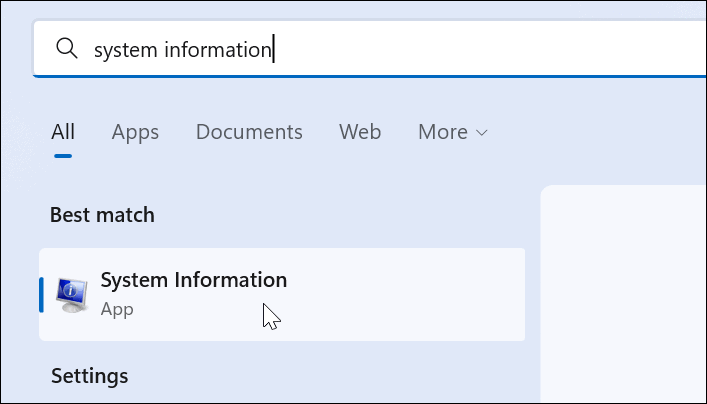
- Click Start or hit the Windows key.
- Type system information and choose the best match option at the top.

- Expand the Components tree on the right and select Display. On the right pane, you’ll see the name of your graphics card.

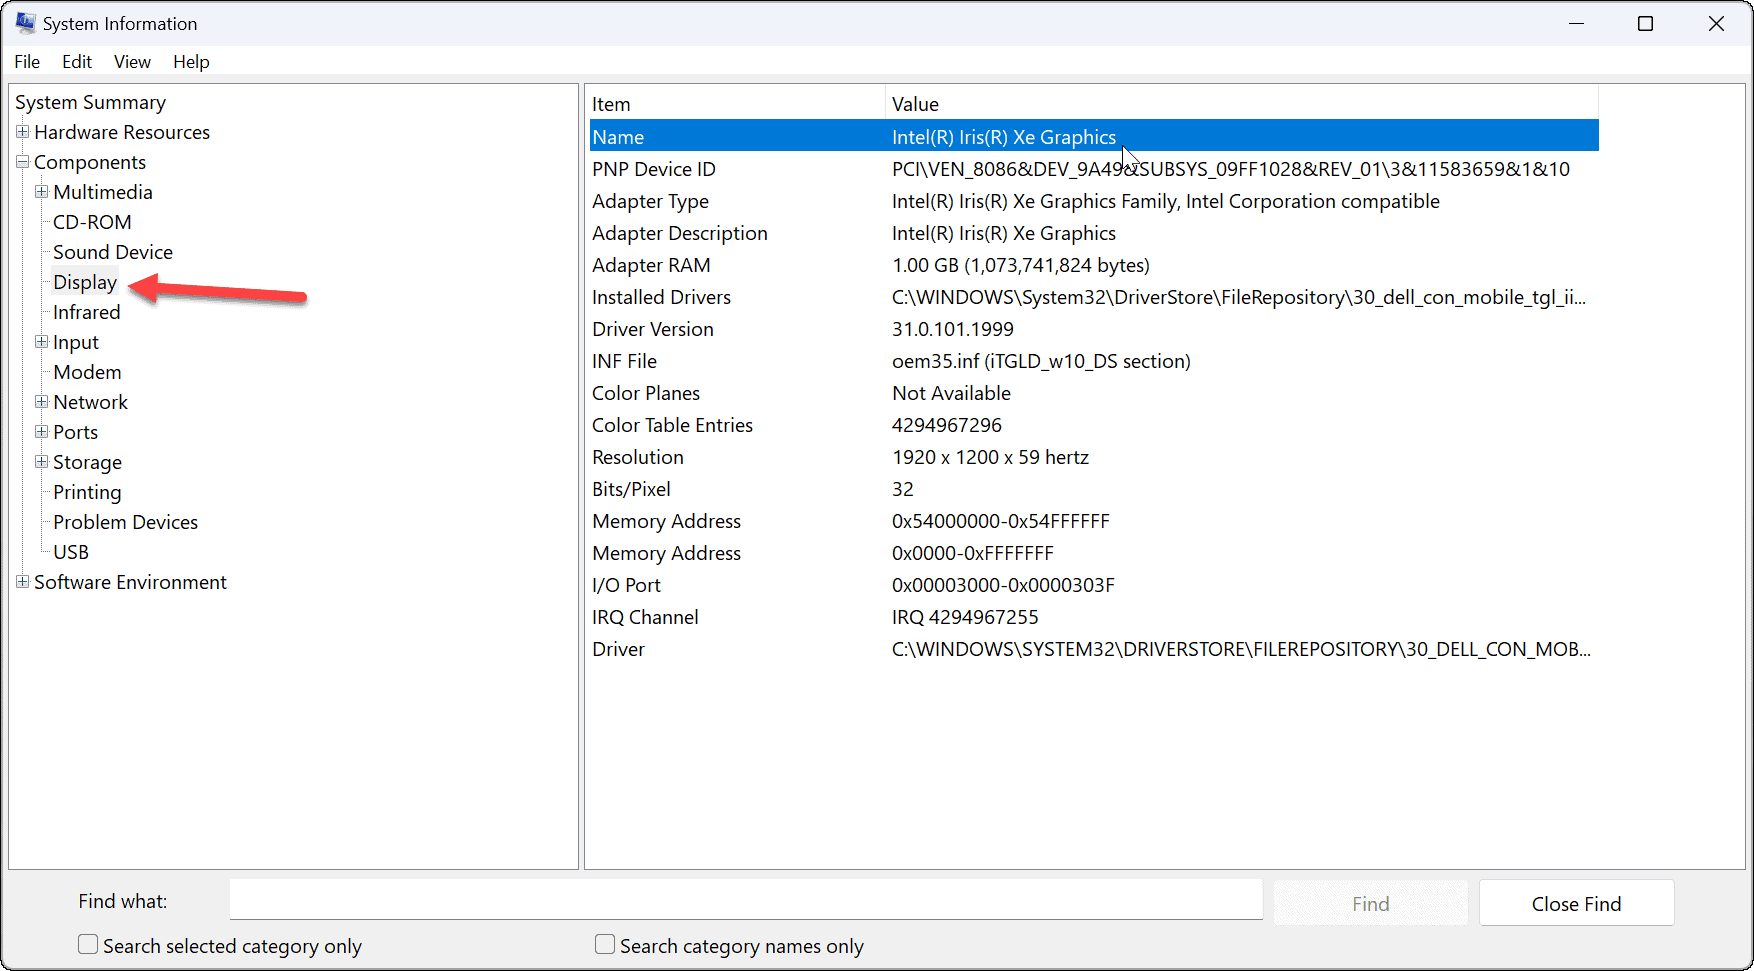
It’s worth noting that you can use plenty of other component details in the System Information utility. If you need to find names and additional component details in the future, remember the System Information utility.
Use GPU Manufacturer Software
If you have an integrated card, it’s most likely an Intel graphics card. However, if you have a dedicated card, it probably has its own software installed on your PC. For example, AMD has Radeon software, and Nvidia has GeForce Experience software.
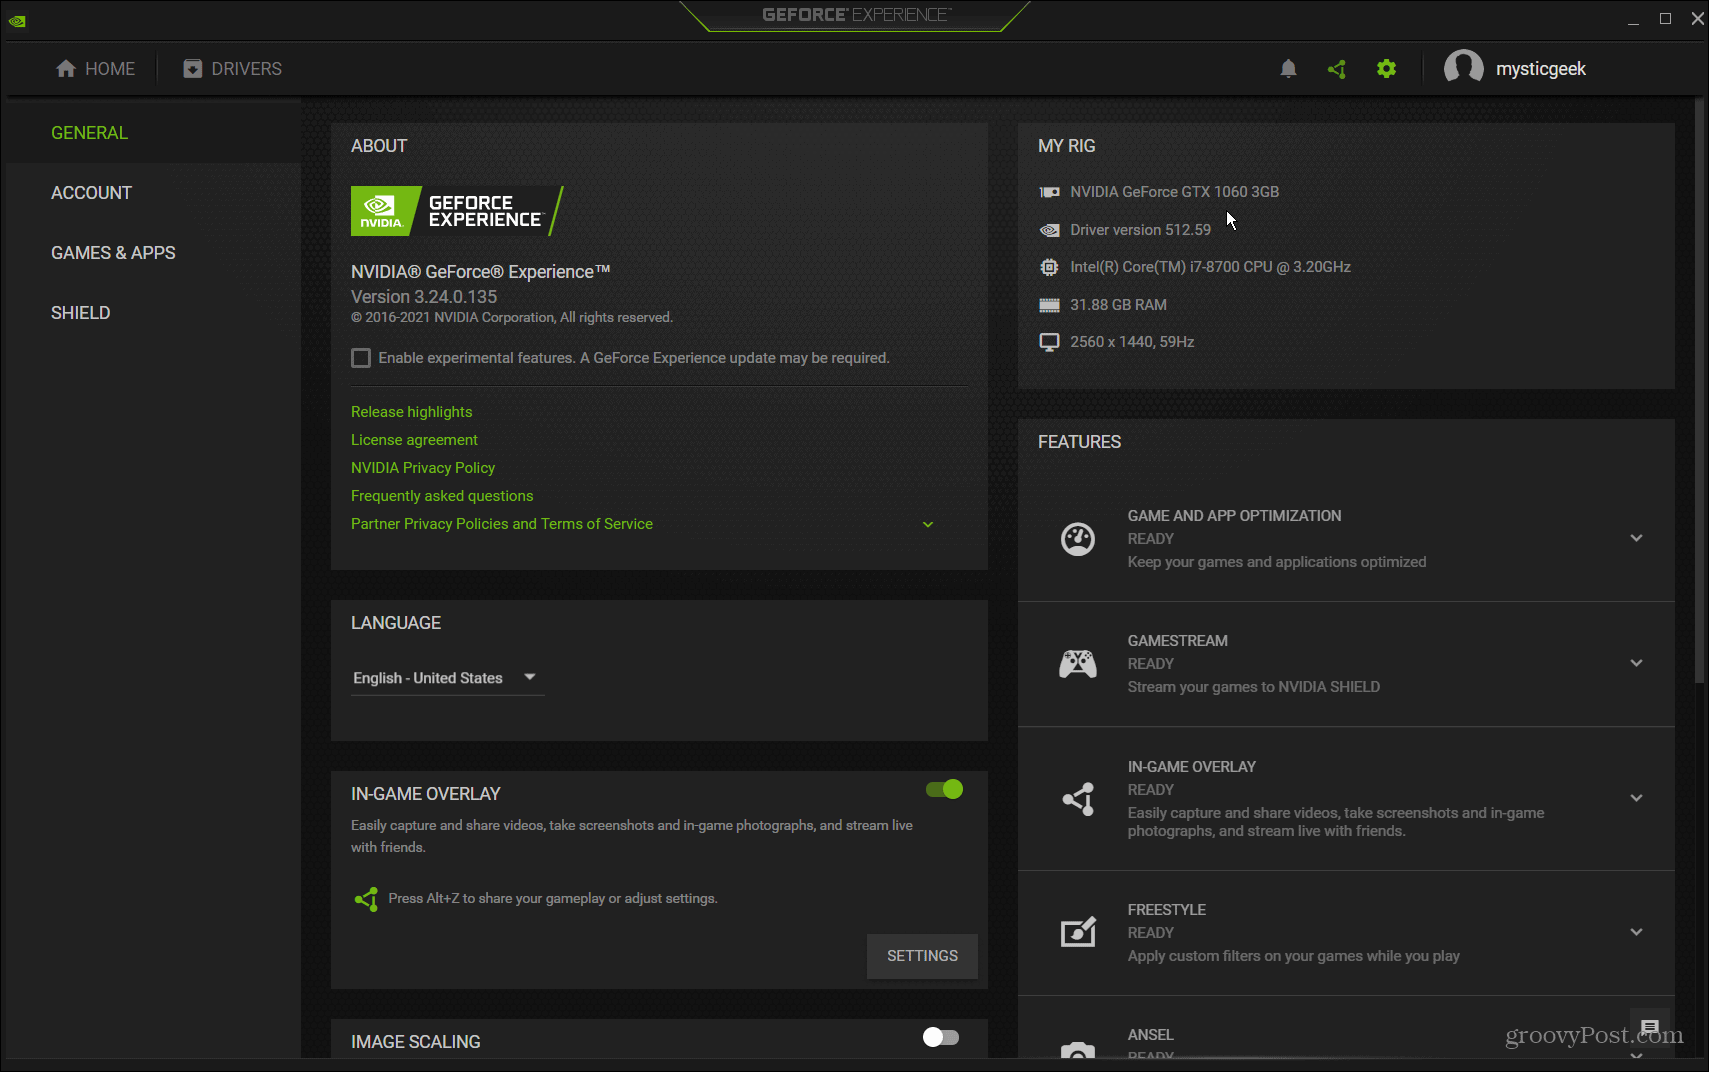

Search your PC for the manufacturer’s name and launch its corresponding software. It gives you the graphics card name and provides an easy way to update drivers. It also allows you to adjust your graphics card for features like Game Ready Driver, Studio Driver, FreeSync, or G-Sync.
Check Your Graphics Card on Windows 11
Whether you’re troubleshooting an issue or looking to swap out cards, it’s good to check your graphics card on Windows 11. There are plenty of different ways to do it, as shown above. Use the method that works best for you.
Leave a Reply
Leave a Reply


