How to Print Screen Without a Print Screen Button
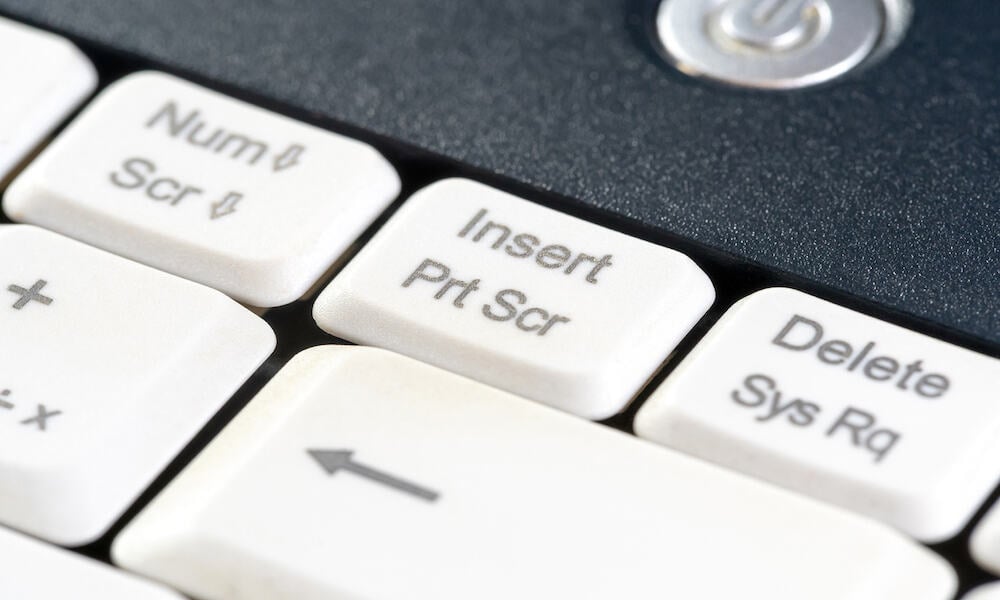
Most Windows shortcuts for taking screenshots require the Print Screen button. Here’s how to print screen without a Print Screen button.
There are many differences between PCs and Macs, and each side has its stalwart fans. There’s one thing that PCs have that Mac users may look on with envy, however, and that’s the Print Screen button. This handy little button has never been part of Mac keyboards, while PC users have enjoyed years of easy screen capturing with this dedicated key.
Not every keyboard includes a Print Screen button, however. What do you do if your PC keyboard doesn’t have one, or if the Print Screen button on your keyboard has stopped working? All is not lost; even without this useful button, you can still capture your screen in several ways. Here’s how to print your screen without a Print Screen button.
How to Print Screen With the On-Screen Keyboard
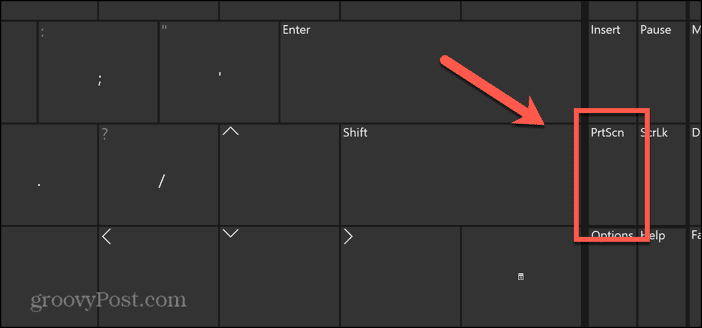
If your physical keyboard doesn’t have a Print Screen button, Windows has a virtual keyboard that does. You can use this on-screen keyboard to print your screen by clicking the virtual PrtScn button on the virtual keyboard. Your computer will then react in the same way as if you’d pressed a physical PrtScn button on your keyboard.
- The quickest way to open the on-screen keyboard is by using the keyboard shortcut Windows+Ctrl+O.
- If you can use this short, right-click the Start button.


- Select Settings.

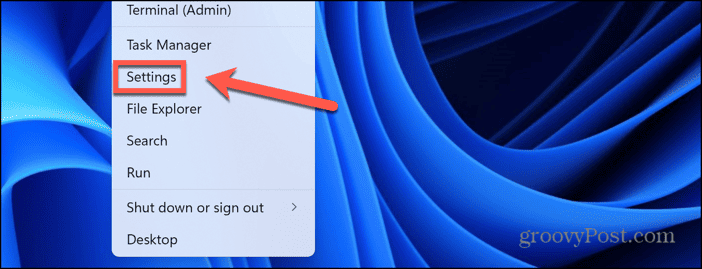
- In the left-hand menu, click Accessibility.


- Scroll down and click Keyboard.

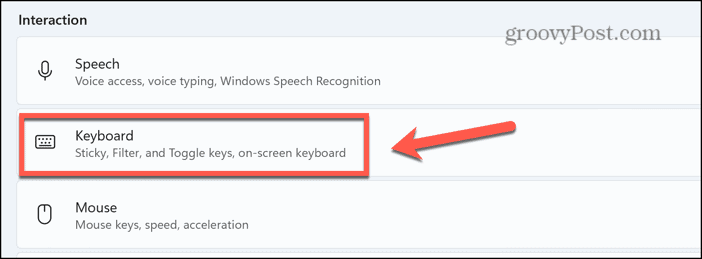
- Toggle On-Screen Keyboard on.


- Once the on-screen keyboard is open, click the PrtScn key.

- The Snipping Tool app will open.
- Click the Rectangular Mode icon to drag out a rectangular area. When you release the cursor, the screenshot is taken.


- Click the Freeform Mode icon to drag out a freeform area to capture. When you release the cursor, the screenshot is taken.


- Click the Window Mode icon to capture a specific window. When you click the window you want to capture, a screenshot is taken.


- Click the Full-Screen Mode icon to capture the entire screen.


- Your screenshot will be saved to the Pictures > Screenshots folder.
How to Print Screen Using a Keyboard Shortcut
If your keyboard is working, but doesn’t have a Print Screen button, you can use an alternative keyboard shortcut that doesn’t require the Print Screen key. This shortcut will open the Snipping Tool app, allowing you to capture a rectangular selection, a freeform selection, a specific window, or the entire screen.
- Press the keyboard shortcut Windows+Shift+S.
- The Snipping Tool app will open.
- At the top of the screen, click the Rectangular Mode icon to drag out a rectangular area to capture.


- Click the Freeform Mode icon to drag out a freeform area to capture.


- Click the Window Mode icon to capture a specific window. When you click the window you want to capture, a screenshot is taken.


- To capture the entire screen, click the Full-Screen Mode icon.


- Your screenshots are saved to the Pictures > Screenshots folder.
How to Print Screen Using The Snipping Tool
If you’re having issues with your keyboard, and can’t use the keyboard shortcut above, you can open the Snipping Tool app using your mouse. You can then use the Snipping Tool app to capture selected areas of your screen, specific windows, or the entire screen.
- Click the Start button in the taskbar.


- Click the All Apps button.


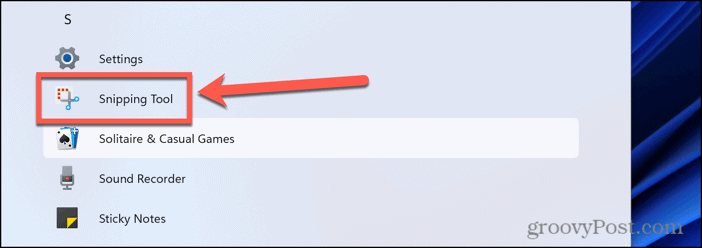
- Scroll down to the S section and select Snipping Tool.

- Click the New button to start a new snip.

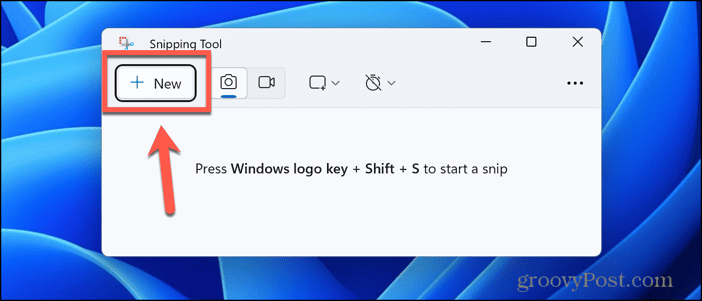
- In the toolbar at the top of the screen, click the Rectangular Mode icon to capture a rectangular area.


- Click the Freeform Mode icon to capture a freeform area.


- Click the Window Mode icon to capture a specific window.


- To capture the entire screen, click the Full-Screen Mode icon.


- Your screenshots are saved to the Pictures > Screenshots folder.
How to Remap the Print Screen Button to a Different Key
If your keyboard doesn’t have a PrtScn button and it’s something that you want to use a lot, constantly opening the on-screen keyboard can get pretty tiresome. However, it’s possible to remap one of the other keys on your keyboard to act as if it is the PrtScn key. You can remap a key you don’t use often using a free Microsoft utility called PowerToys, although there are plenty of other options.
- Click the Microsoft Store icon in the taskbar.


- In the search field, type Powertoys.


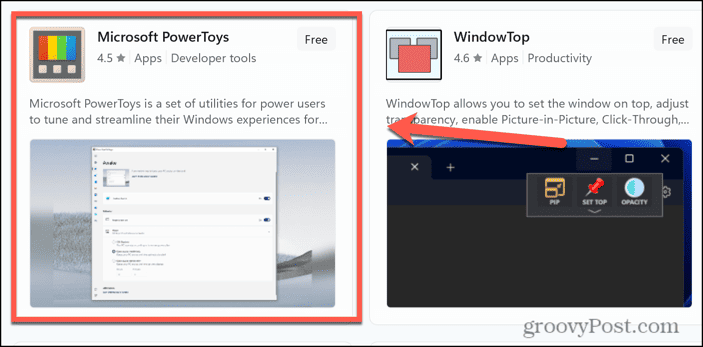
- Select Microsoft PowerToys from the results.

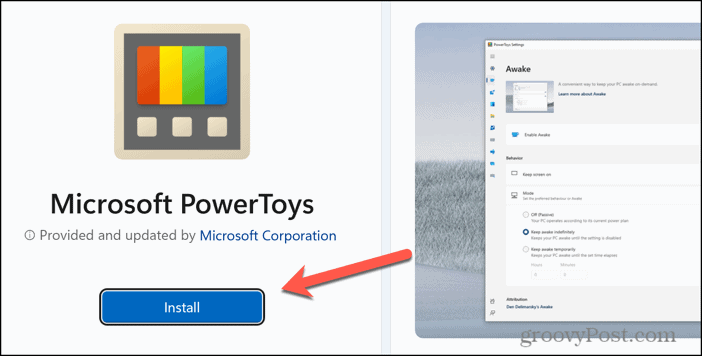
- Click the Install button.

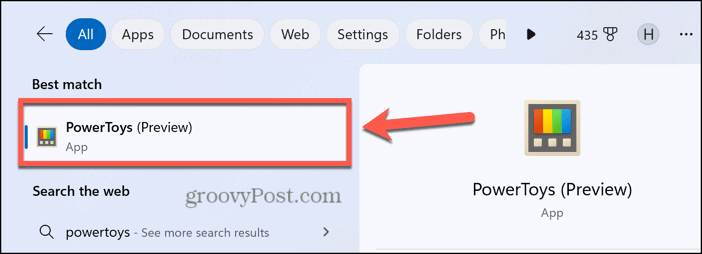
- Once PowerToys has been installed, type Powertoys into the search field in the taskbar.


- Select the PowerToys app.

- In the left-hand menu, select Keyboard Manager.


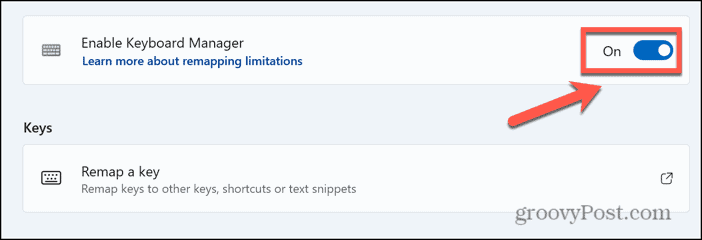
- Toggle Enable Keyboard Manager on.

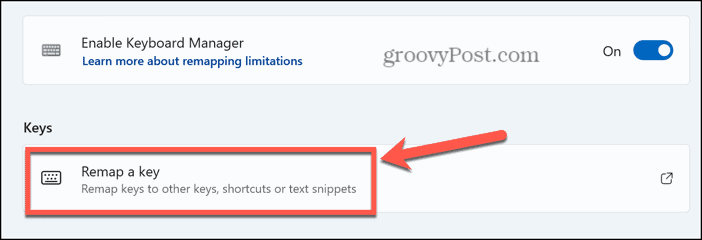
- Click Remap a Key.

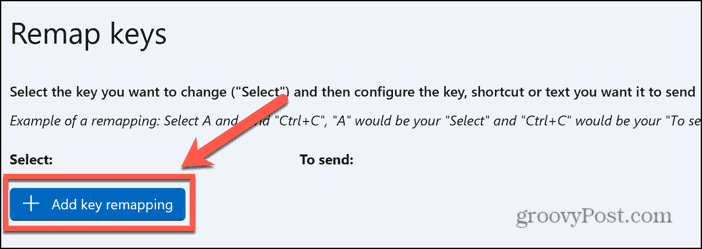
- Click the Add Key Remapping button.

- Under Select press the Select button.


- Press the key that you want to use as your Print Screen button. You should see the selected key appear in the window.

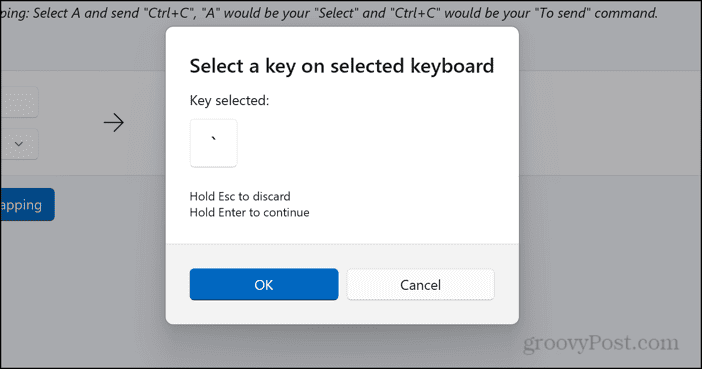
- Click OK to confirm the selected key.
- In the To Send section, click the drop-down directly underneath the Key/Shortcut drop-down.


- Scroll down through the alphabetical list and select Print Screen.

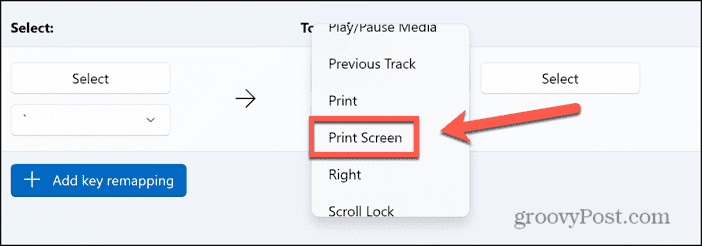
- Click OK to confirm the remapping. You may see a warning that the key you have remapped is no longer assigned.


- You should now be able to use the remapped key as your Print Screen key. Pressing this key should open the Snipping Tool app.
- If you need to use the key that you’ve remapped for its original purpose at any time, you can turn off remapping in PowerToys.
- Open PowerToys and click Keyboard Manager.


- Toggle Enable Keyboard Manager off.

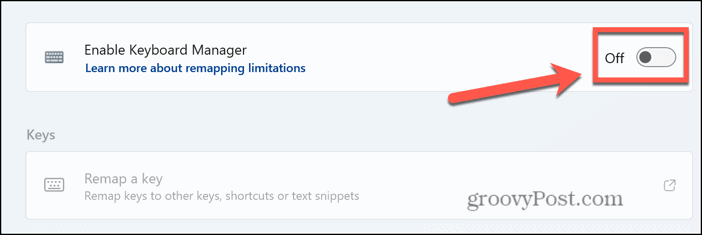
- Your key will now work as originally intended.
Living Without the Print Screen Button
Knowing how to print a screen without a Print Screen button is very useful if you’re using a keyboard that doesn’t have a Print Screen button or a broken Print Screen key. Thankfully, there are plenty of ways you capture your screen even if you don’t have a Print Screen button. The options above aren’t exhaustive either; if you like, you can install third-party apps that can capture your screen, and which come with their own keyboard shortcuts. For basic screen captures, however, one of the methods above should be enough to suit your needs.
Leave a Reply
Leave a Reply


