How to Fix Wi-Fi Not Showing Up on Windows 11

If you’re having network connectivity problems, you may need to fix Wi-Fi not showing up on Windows 11. This guide shows you how.
Having a connection to the internet is vital in today’s computing age. And wireless connectivity is more important than ever. But you might need to fix Wi-Fi not showing up on Windows 11.
Sometimes the option to connect to Wi-Fi networks doesn’t appear on your system. Luckily, there are steps you can take when your Windows 11 PC doesn’t detect nearby wireless networks.
If you’re experiencing such a problem, this guide will show what you can do to find Wi-Fi networks on Windows 11 when they don’t show up.
Basic Ways to Fix Wi-Fi Not Showing Up on Windows 11
Before delving too deep into the troubleshooting rabbit hole, it’s important to note some basic and easy ways to resolve the problem.
If you haven’t rebooted your PC in a while, an easy fix is to restart Windows 11. This step clears system temp files and app cache and restarts any network device drivers that could conflict with the proper network detection.
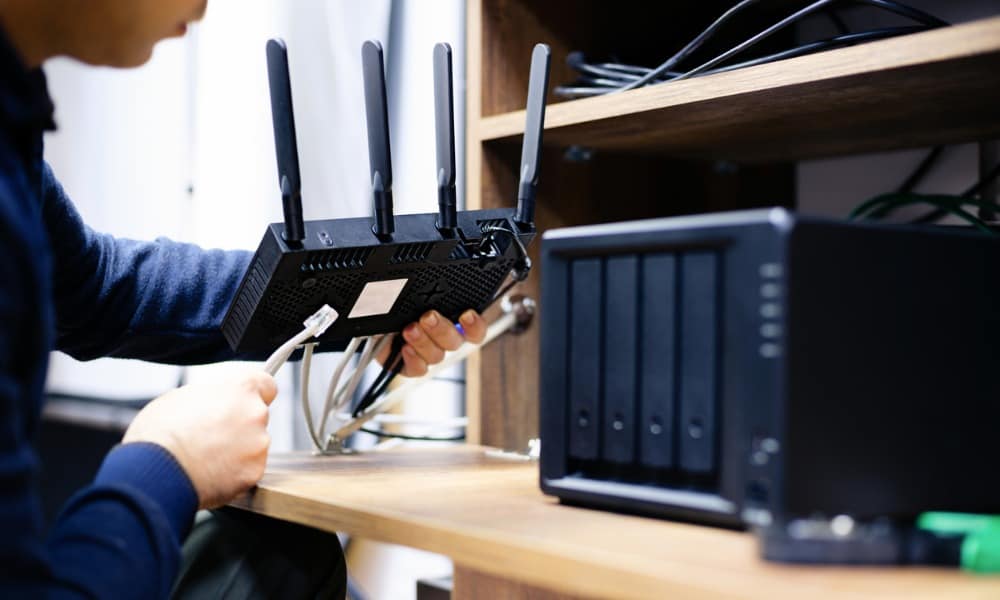
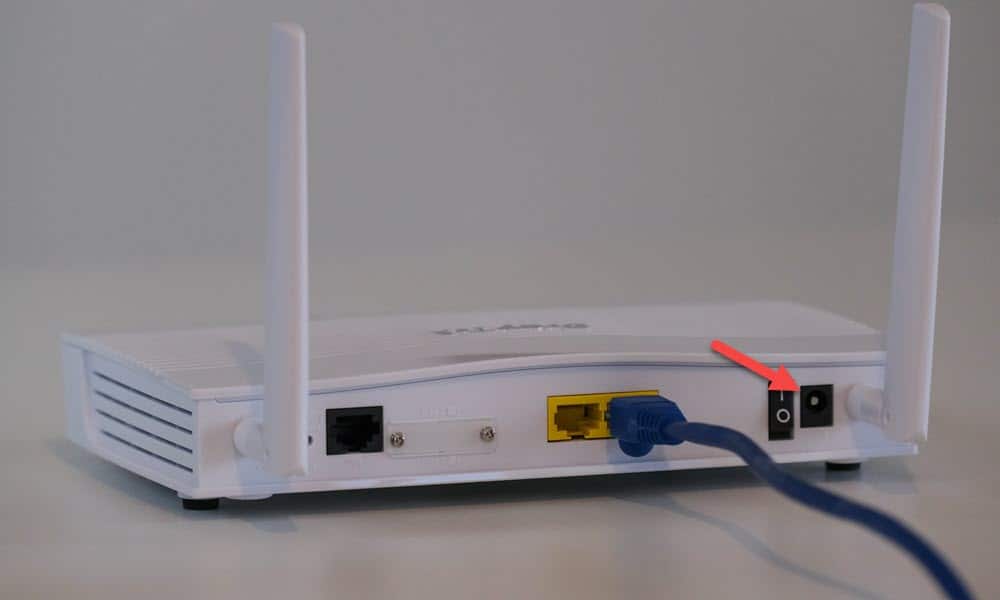
If that doesn’t work, restart your router. How you reboot a router varies between devices, but you’ll often find a reset or power button you can press. Of course, you can always power cycle it by unplugging the power cord for 10-15 seconds and plugging it back in.


If you are unsure how to reboot your router properly, check the manufacturer’s website support documentation.
Disable Airplane Mode on Windows 11
When Airplane mode is enabled on your laptop, Windows turns off radio devices—including the Wi-Fi adapter. You must turn it off to regain Wi-Fi connectivity if it’s enabled. Also, restarting Airplane mode is a perfect way to restart your network’s connections.
To disable Airplane mode on Windows 11:
- Press Windows key + A to launch the Quick Settings menu.
- Click the Airplane mode button to turn it on or off.
Note: If you don’t see the Airplane mode button, you can add it by customizing Quick Settings.

- Alternatively, you can open Settings > Network & internet and toggle the Airplane mode option on or off.


Check Wi-Fi Connectivity
Another simple step is to ensure Wi-Fi is enabled and verify whether the network shows up.
To check if Wi-Fi is enabled:
- Press Windows key + A.
- Verify the Wi-Fi button is selected. You can also toggle it off and back on to refresh available networks.


- Click the arrow next to the Wi-fi button and see if the Wi-Fi network(s) are showing.


Re-enable Wi-Fi Adapter
The Wi-Fi adapter is essential for your computer to connect to a network. But if you are having problems with nearby Wi-Fi networks not showing up, you can disable and re-enable it.
To re-enable the Wi-Fi adapter:
- Press the Windows key to launch the Start menu.
- Type control panel and select the top result.


- Click Network and Internet from the menu.


- Select the Network and Sharing Center option.


- Click the Change adapter settings link in the left column.


- Right-click your Wi-Fi adapter and select Disable from the menu.


- Wait for half a minute, right-click the Wi-Fi adapter, and choose Enable from the menu.


Once you complete the steps, check if your nearby wireless networks are showing up so you can connect.
Reset All Network Adapters
Another option is to use advanced network settings to reset all network adapters.
To reset network adapters:
- Right-click the Start menu and select Settings.
- In Settings, select Network and Internet from the left column and select the Advanced network settings option on the right.


- Scroll to the More settings section and click the Network reset option.


- Next to the Network reset option, click the Reset now button.


Windows will restart your system and reset all network adapters to default settings. Note that if you have assigned specific configurations like VPN, proxy server, or DNS settings, you’ll need to reconfigure them.
Check the WLAN AutoConfig Service
The WLAN AutoConfig service allows Windows 11 to discover and connect to Wi-Fi networks. However, you can configure it to run during startup if it’s having problems or isn’t running.
To check the WLAN AutoConfig service on Windows 11:
- Press Windows key + R to open the Run dialog window.
- Type services.msc and click OK or press Enter.


- Right-click WLAN AutoConfig and select Restart.


- Once the service restarts, double-click it and ensure the Startup type is set to Automatic.


- Restart your PC and see if nearby Wi-Fi networks are showing up.
Update or Reinstall Your Network Driver
If the Reset Network Adapters option doesn’t work, you can manually update or reinstall the adapter drivers to fix Wi-Fi not showing up on Windows 11.
To manage network drivers on Windows 11:
- Press the Windows key, type device manager, and select the top result.


- To update the driver, expand the Network adapters section.
- Right-click your wireless adapter, select Update driver, and follow the onscreen wizard.


- To reinstall the driver, select Uninstall device.


- Select the Attempt to remove the driver for this device box and click Uninstall.


- Restart your PC, and Windows will automatically reinstall the device driver during the boot process.
Fixing Wi-Fi Problems on Windows 11
Wi-Fi is essential for computing, and it can be frustrating if it’s not working. However, you can fix Wi-Fi not showing on Windows 11 using the above steps. Using the basic steps will typically fix the problem, but you can use more in-depth steps to correct the problem.
If you are experiencing other connectivity issues, you can generate a Wi-Fi report on Windows 11 to narrow down problems. If you need to connect a PC to a network, you might need to find the Wi-Fi password to connect.
Also, if you are no longer using an adapter, you can delete the network adapter so it’s out of the way. And if you connect to multiple networks, over time, they pile up. So, check out how to forget a Wi-fi network on Windows 11.
1 Comment
Leave a Reply
Leave a Reply


dan
June 24, 2023 at 1:23 pm
Does your article apply to Windows 10 as well? If not, which sections should I omit in my (Win10) analysis?
Thanks,
Dan